

[originally published on Medium in 2016]
This halloween we decided to stick with pop culture and try a Stranger things costume. I started it the same way I start every year, by taking screen caps, measuring everything, and scaling everything to my height.
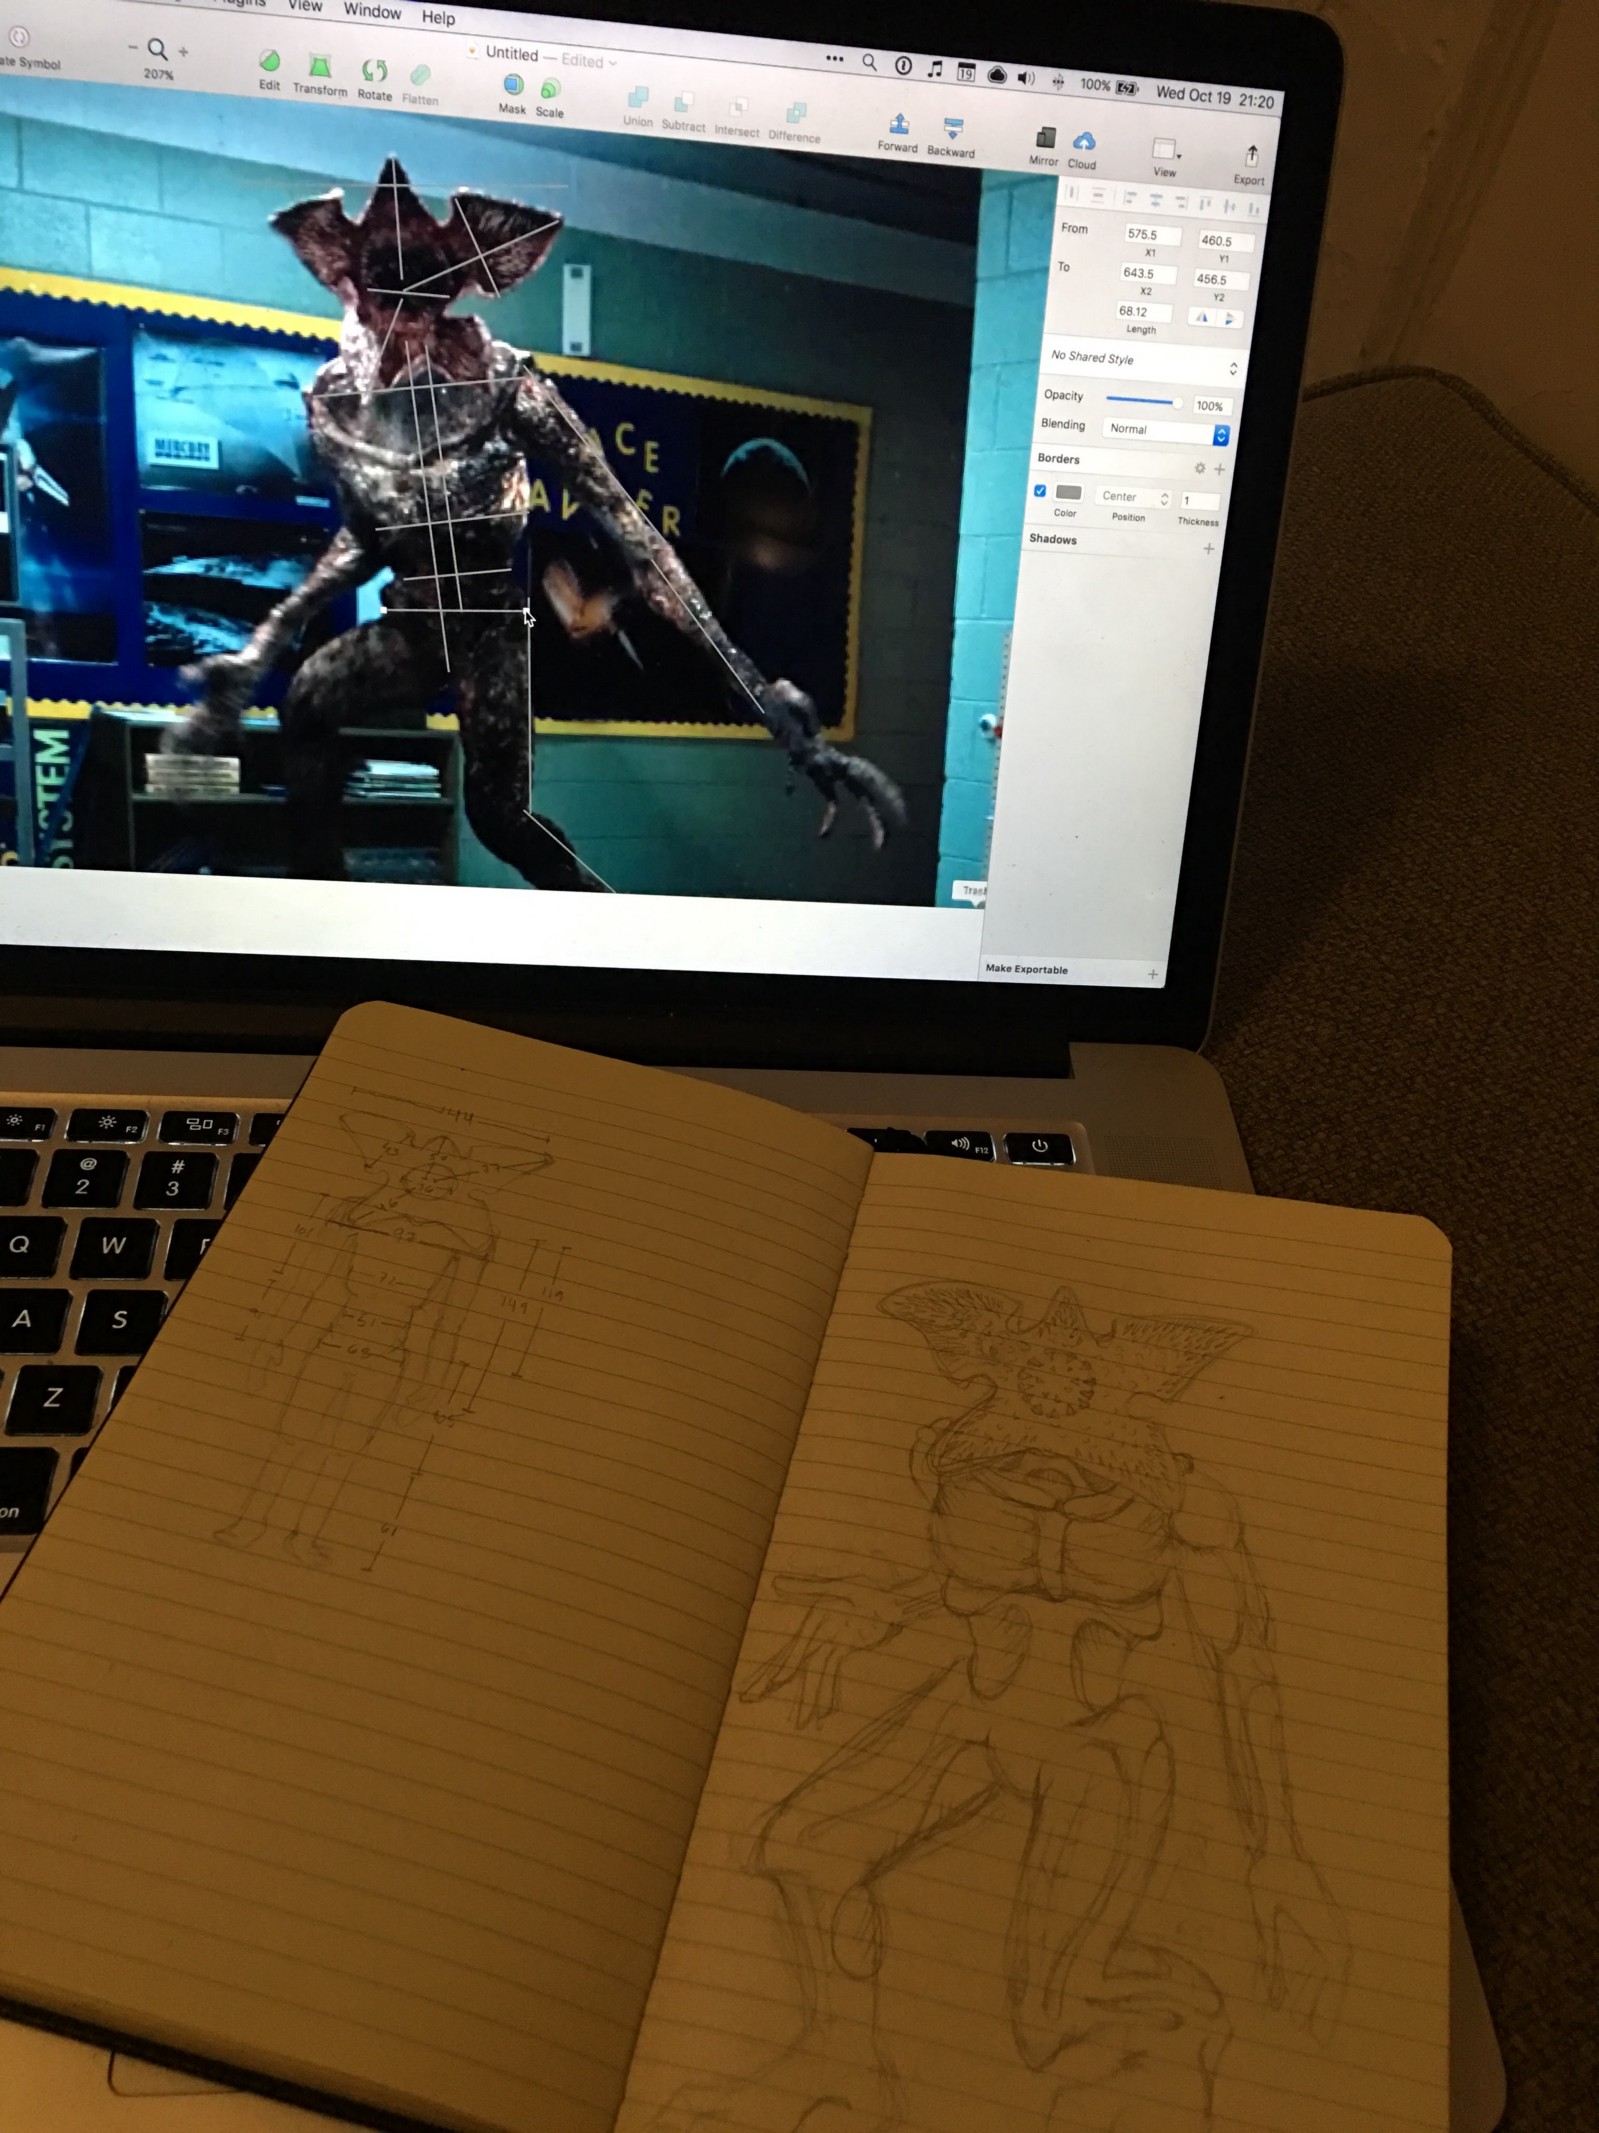
For this costume, I wasn't too worried about the proportions, since I was going to be just painting a morphsuit for the body. I figured I'd draw up a slightly more human-like version to play with some ideas too.
The most difficult part was obviously the mask, so I did some searching around for inspiration and found a great tutorial that I stole most of the techniques from: http://ellimacs.com/stranger-things-demogorgon-halloween-costume-tutorial/
However, I wanted a mask that I could take on and off, didn't want a long application process (if any), and I wanted to do a better job matching the proportions on the show.
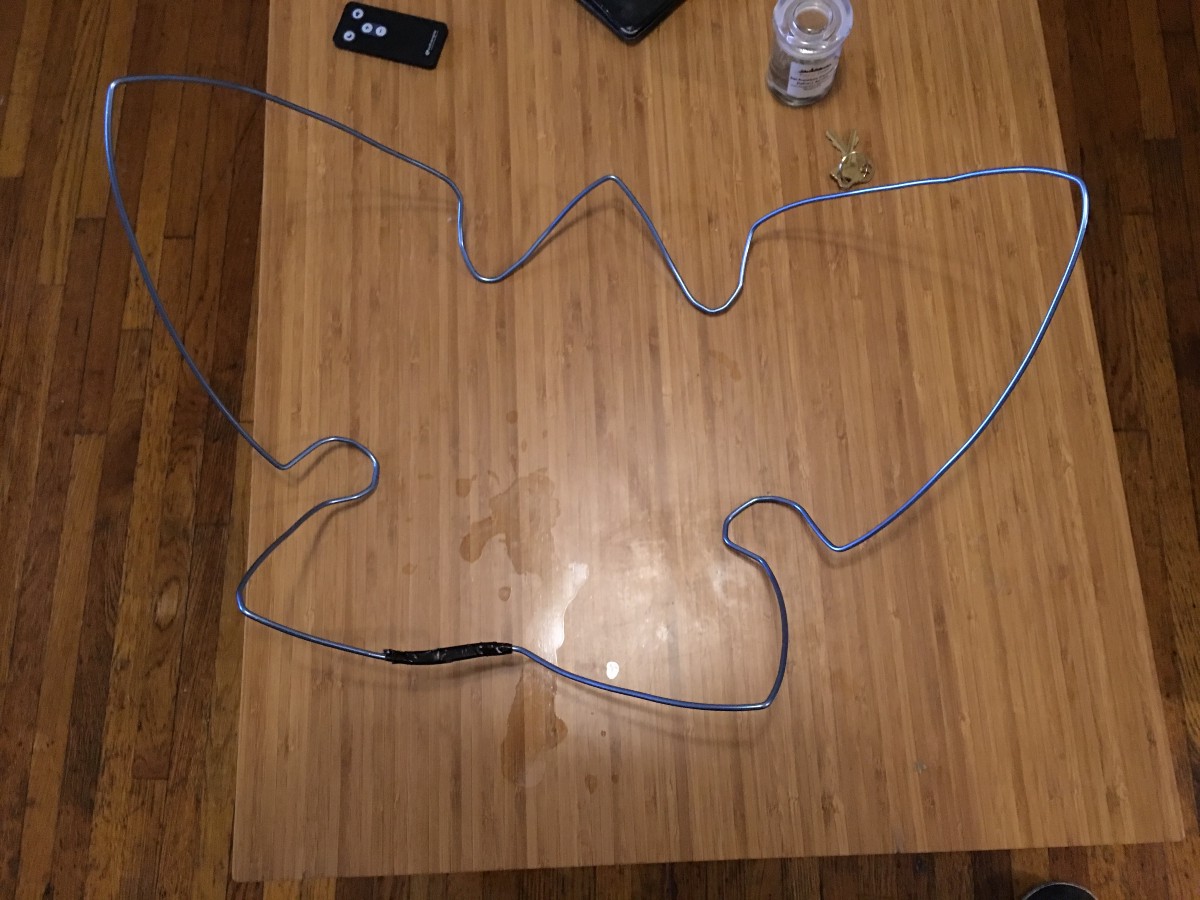
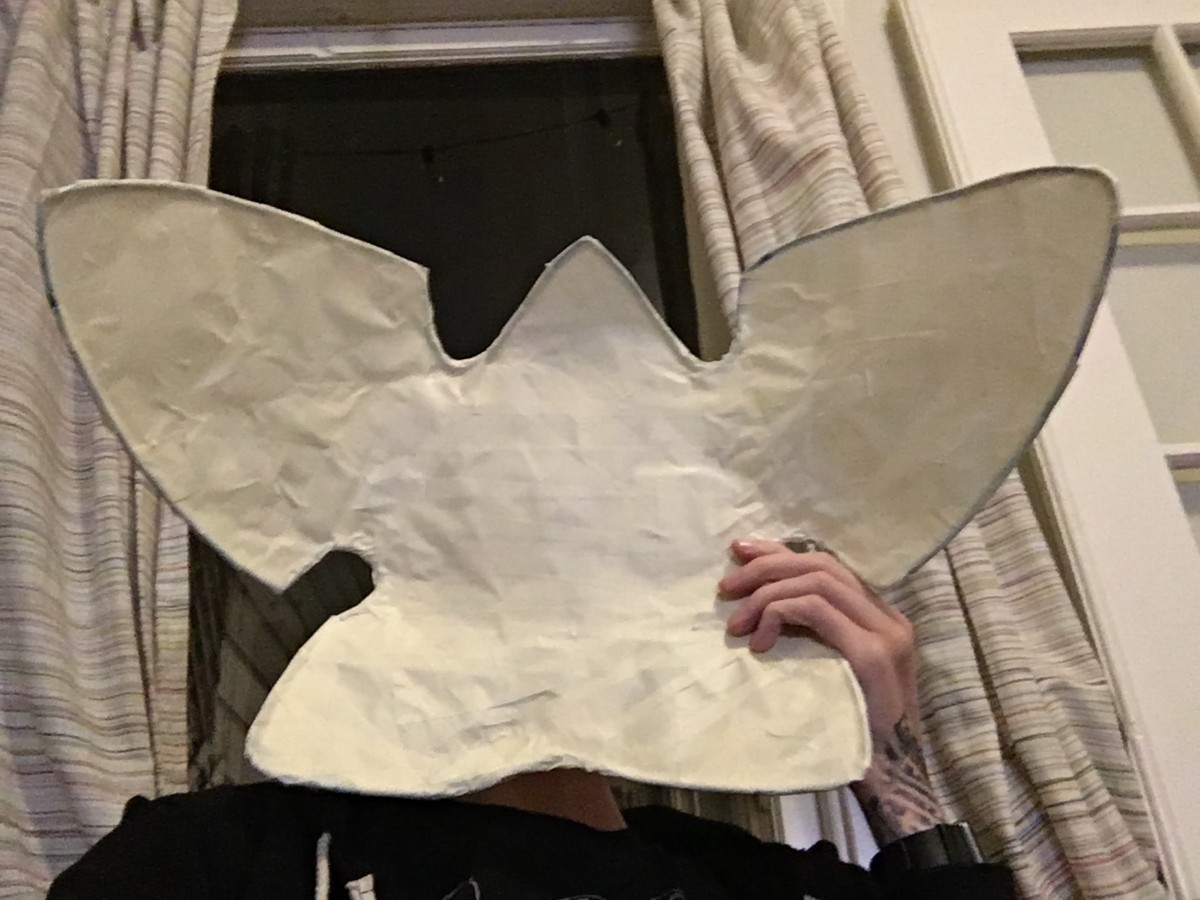
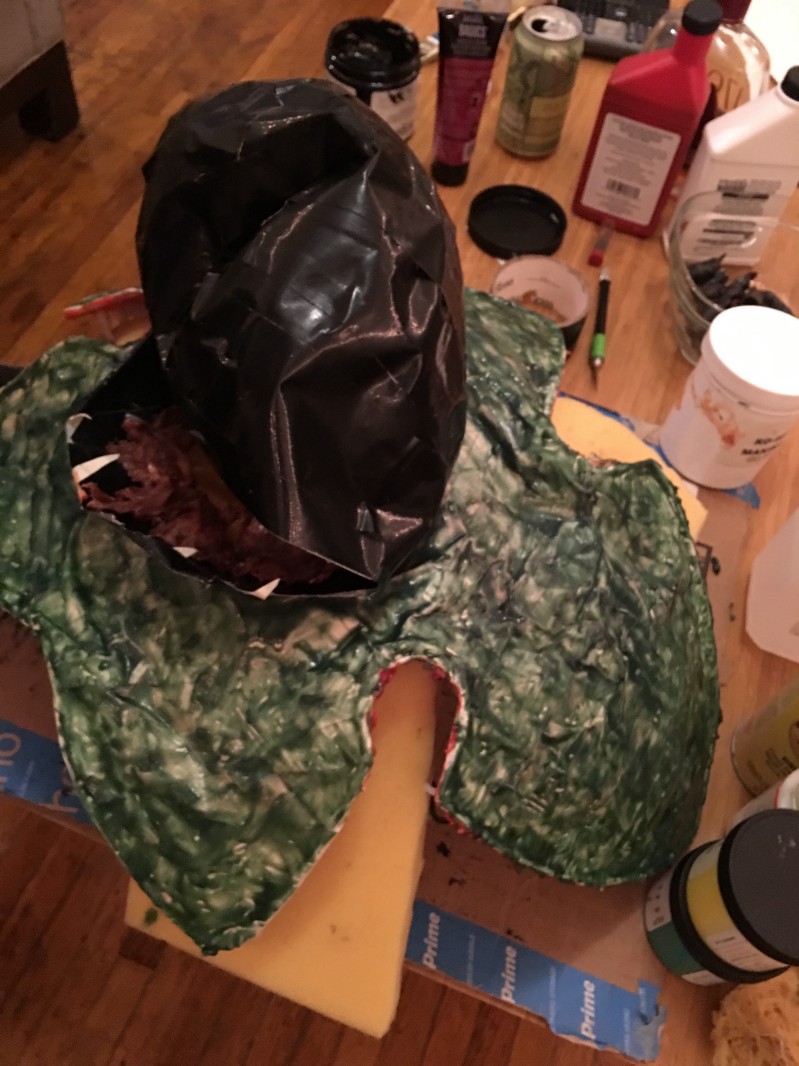
First, using my measurements and screenshots as a guide, I made an armature for the mask and covered it in masking tape, a layer on each side.
I used the technique in the tutorial to make the teeth. In my case, it took pretty much exactly a whole bag (6 oz) of Instamorph Moldable Pellets when it was all said and done.
I found that microwaving the plastic and visually watching for them to become clear wound up yielding more easily moldable blobs than dropping the dots in water like the instructions on the bag says.
Be careful and keep the temperature as low as possible while still making the plastic completely transparent. Watch out for superheating the water, which could cause a rapid boil when disturbed. Basically, never heat for over 90 seconds or so.
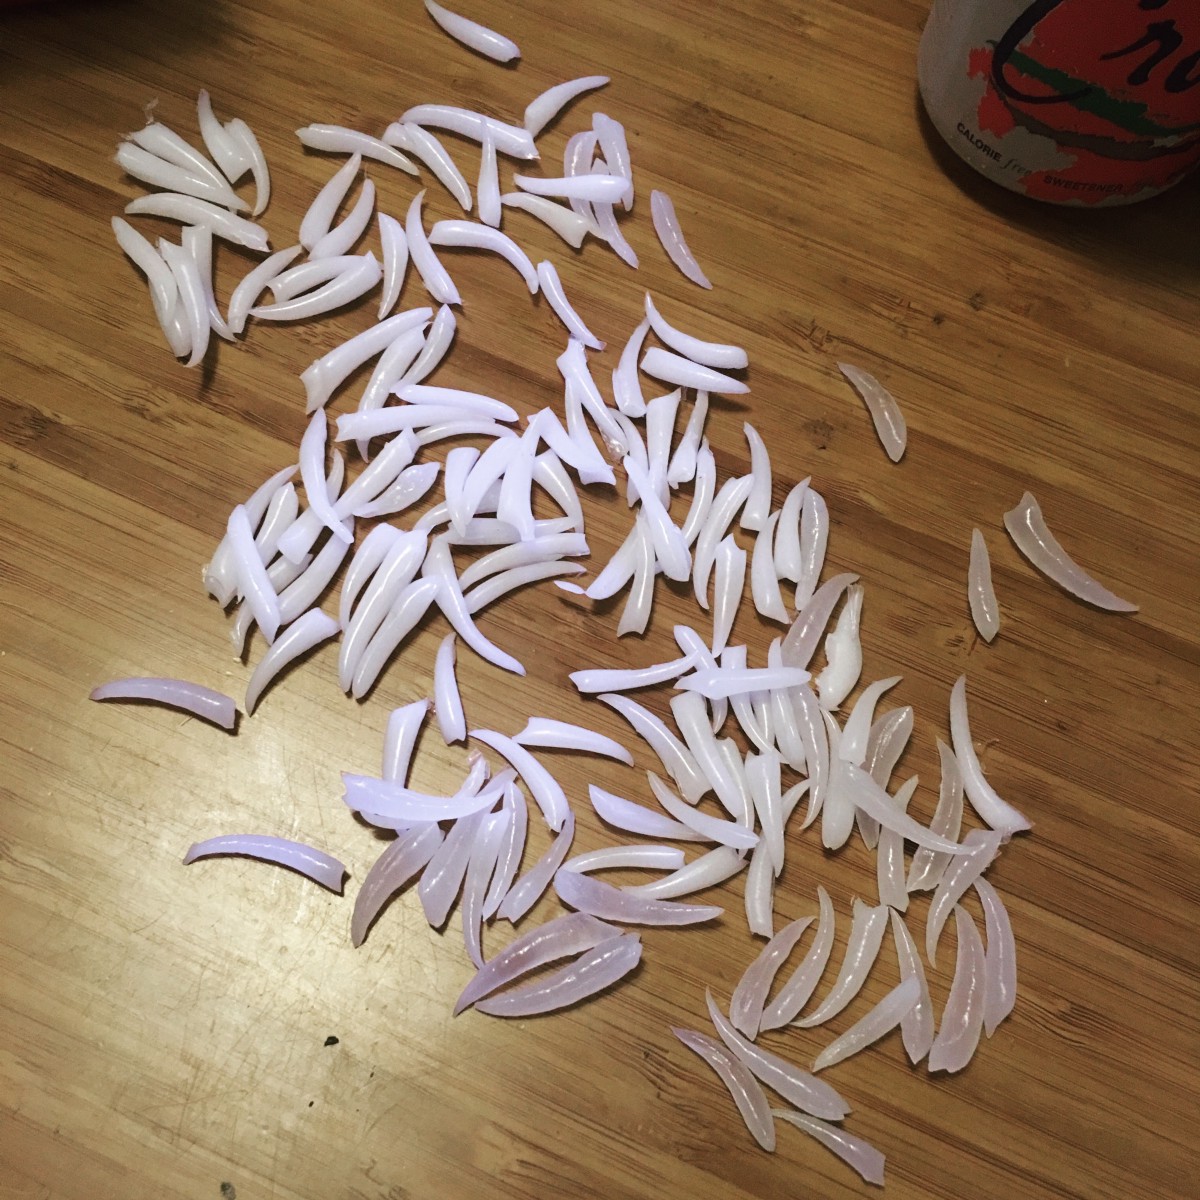
The teeth pretty much form themselves when you cut them off a strip of plastic, a pretty neat technique.
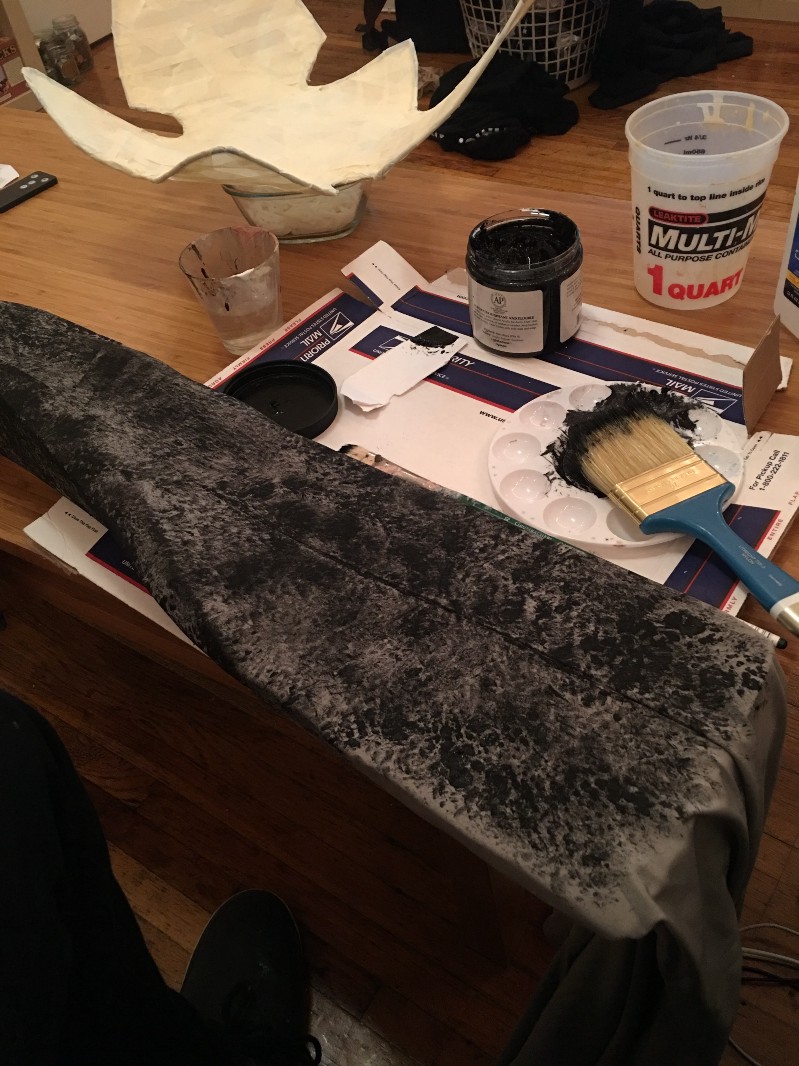
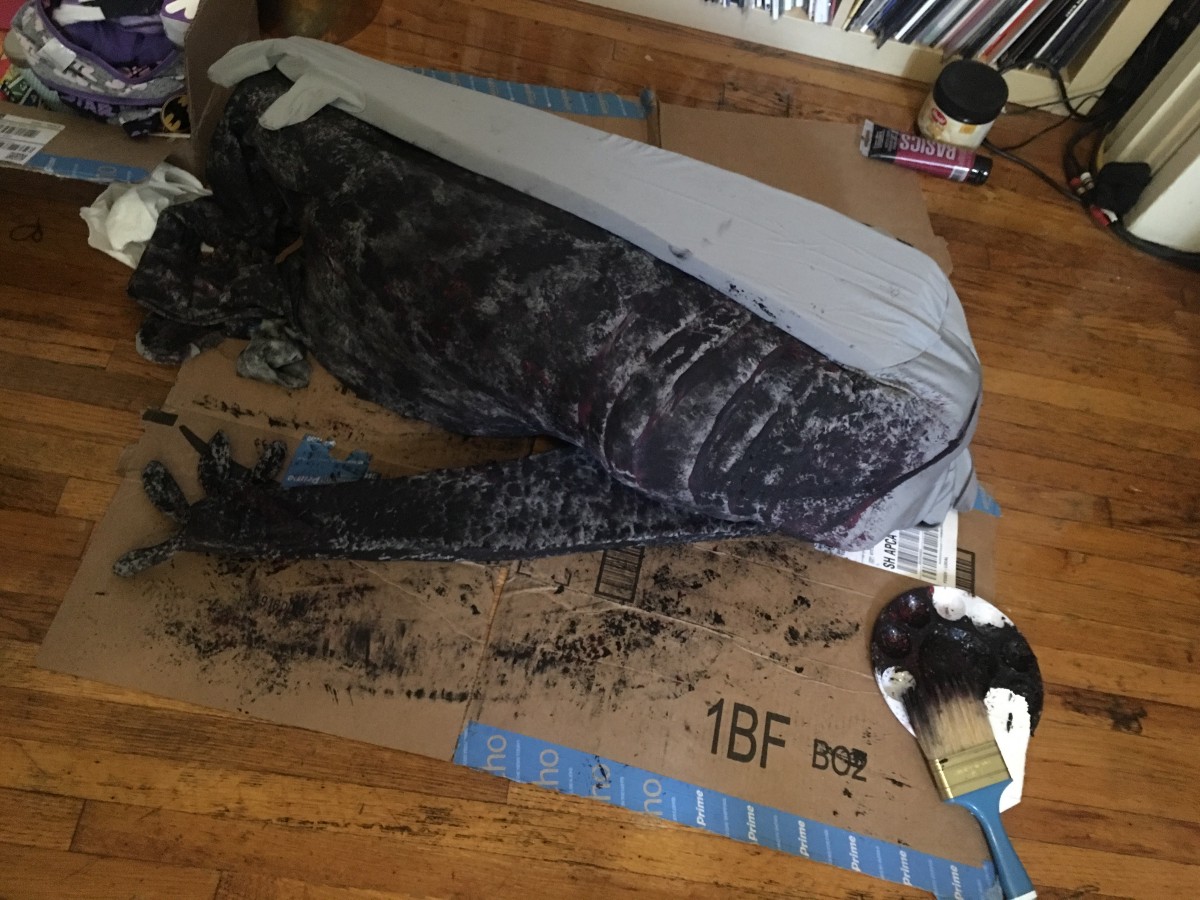
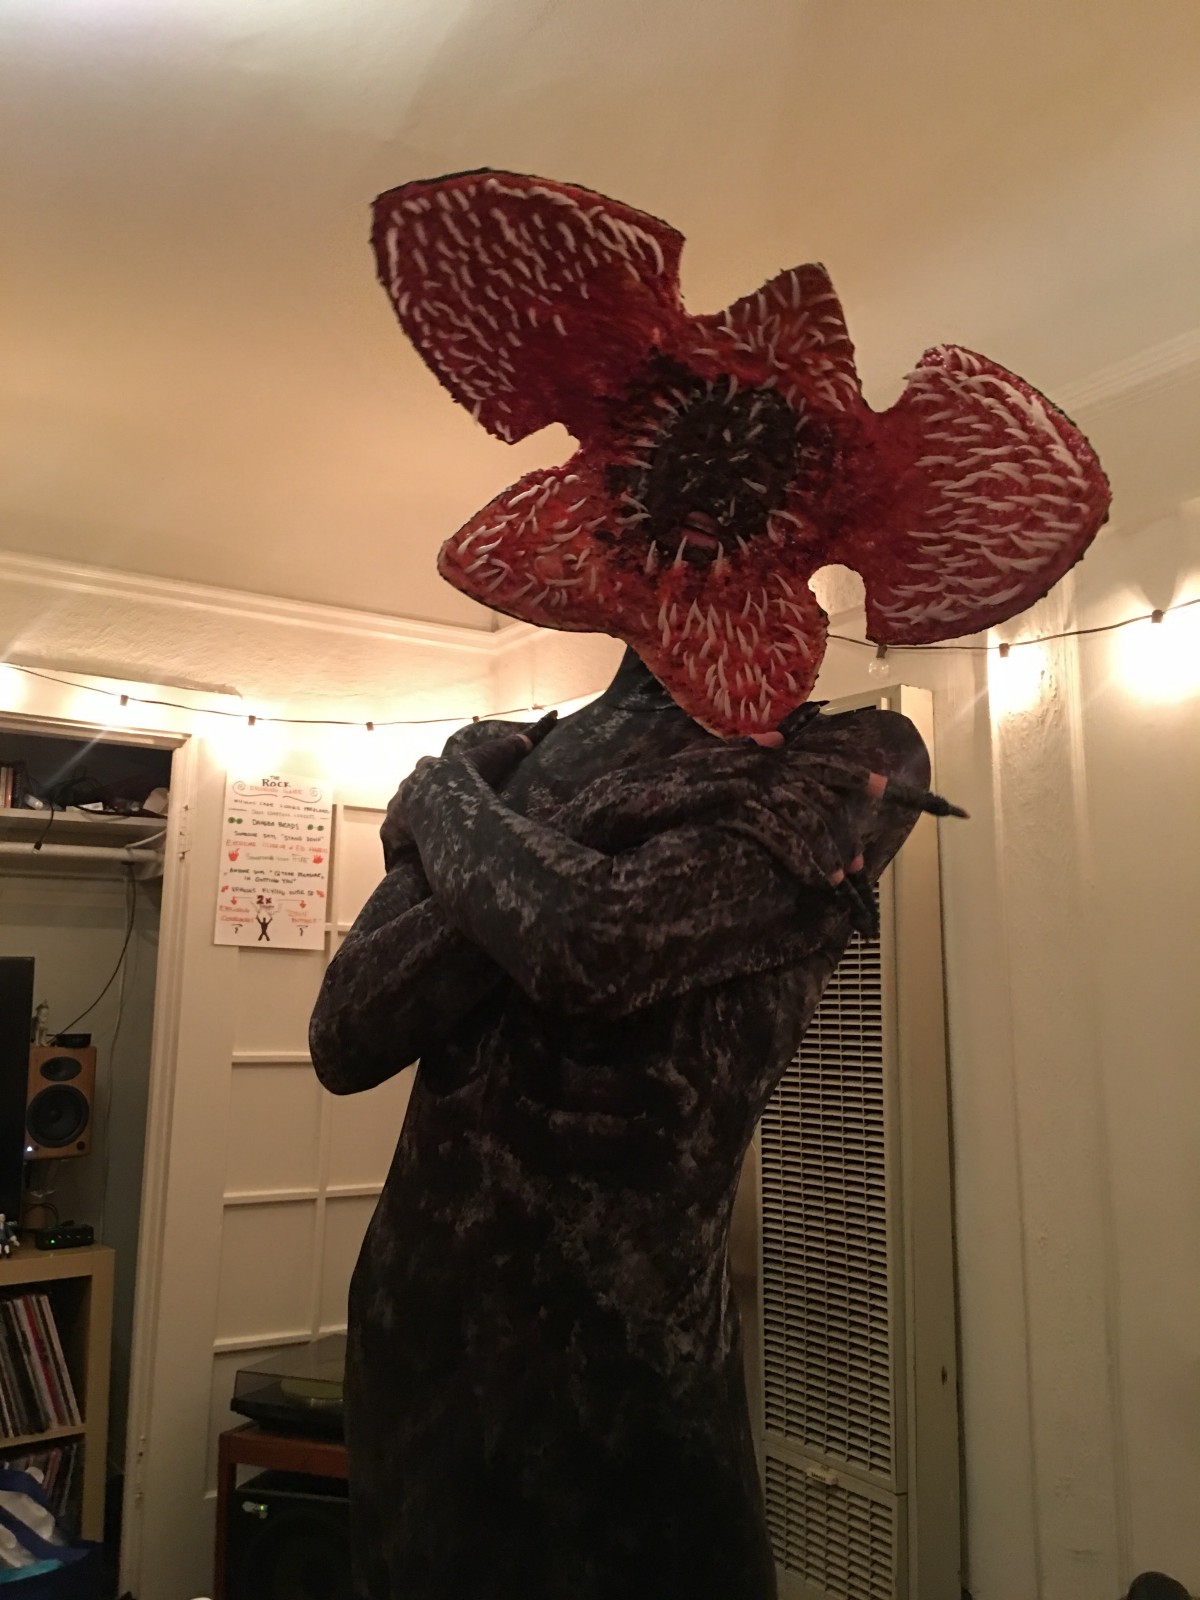
The body was just a grey morphsuit, painted with acrylic. I alternated back and forth between making teeth and painting coats on the morphsuit.
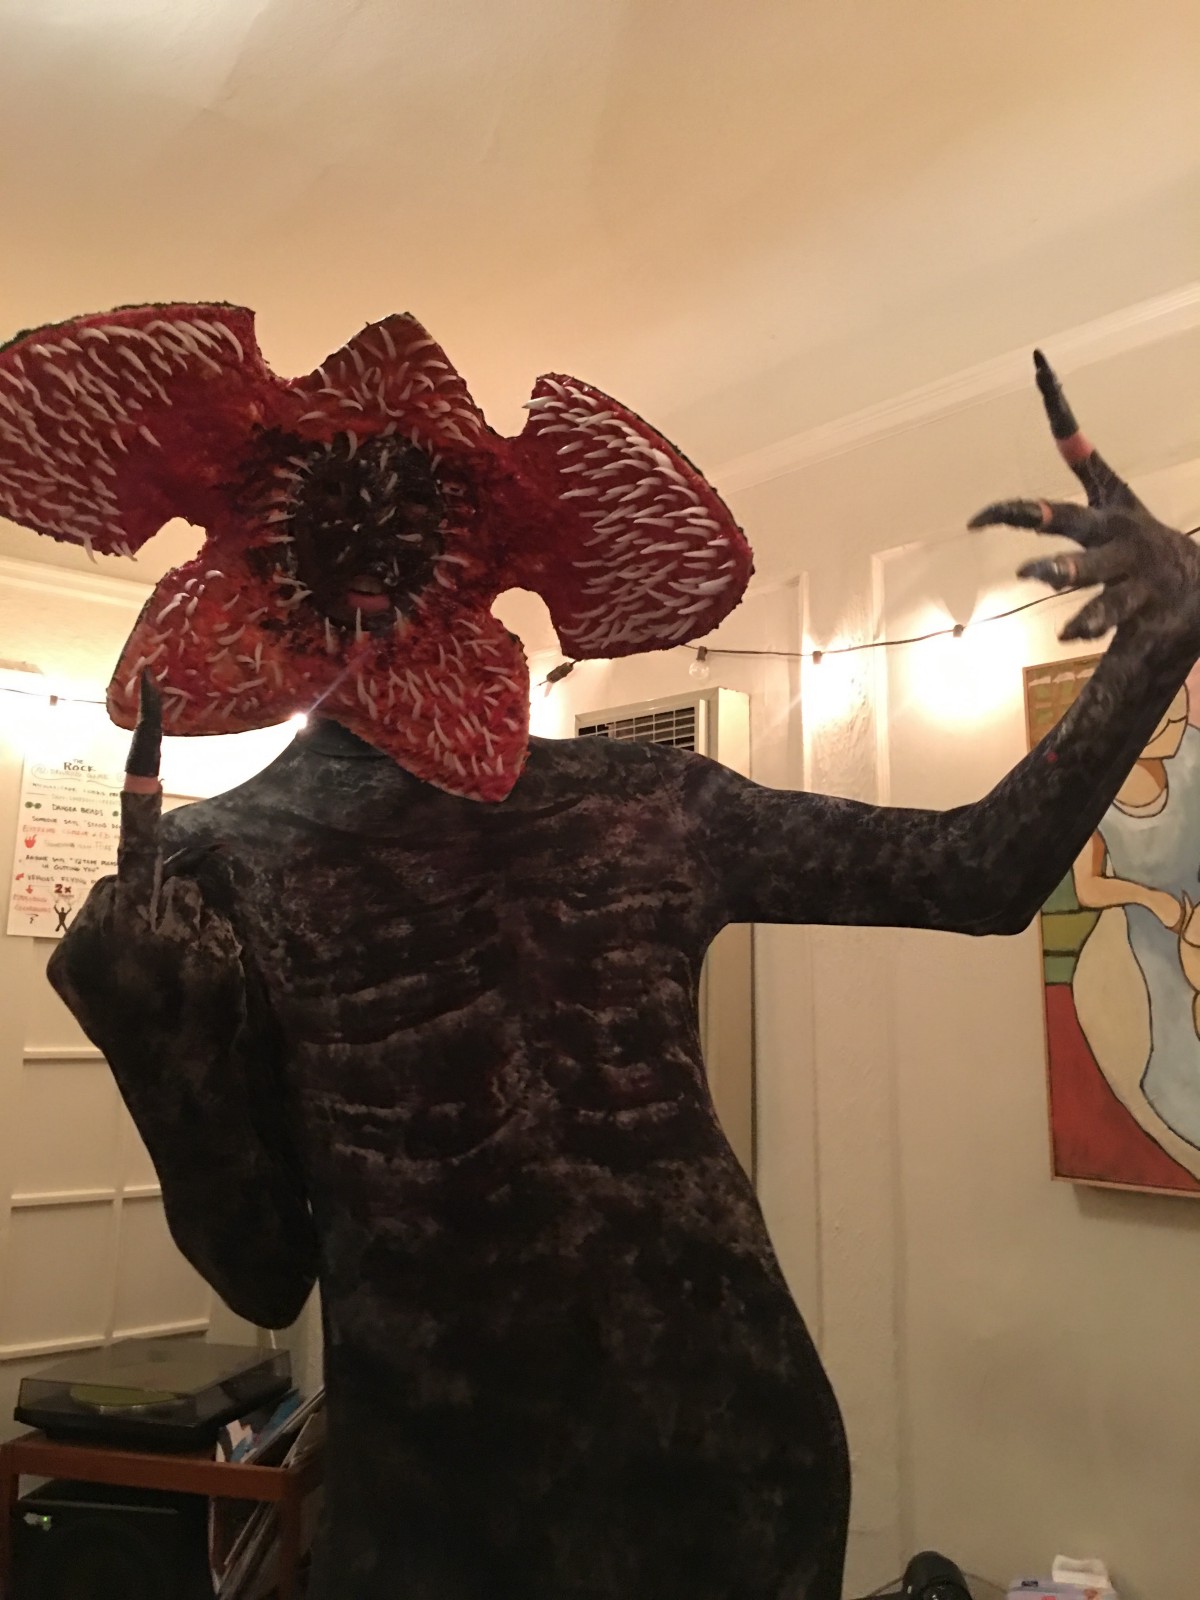
I used a large wide brush and thin layers of dry brushing to get a nice "burned" kind of look to match the monster in the last episode, when we get the best look at it. On the shoulderblades and chest, I left some negative space as highlights to give it a bit more of a textural feel.
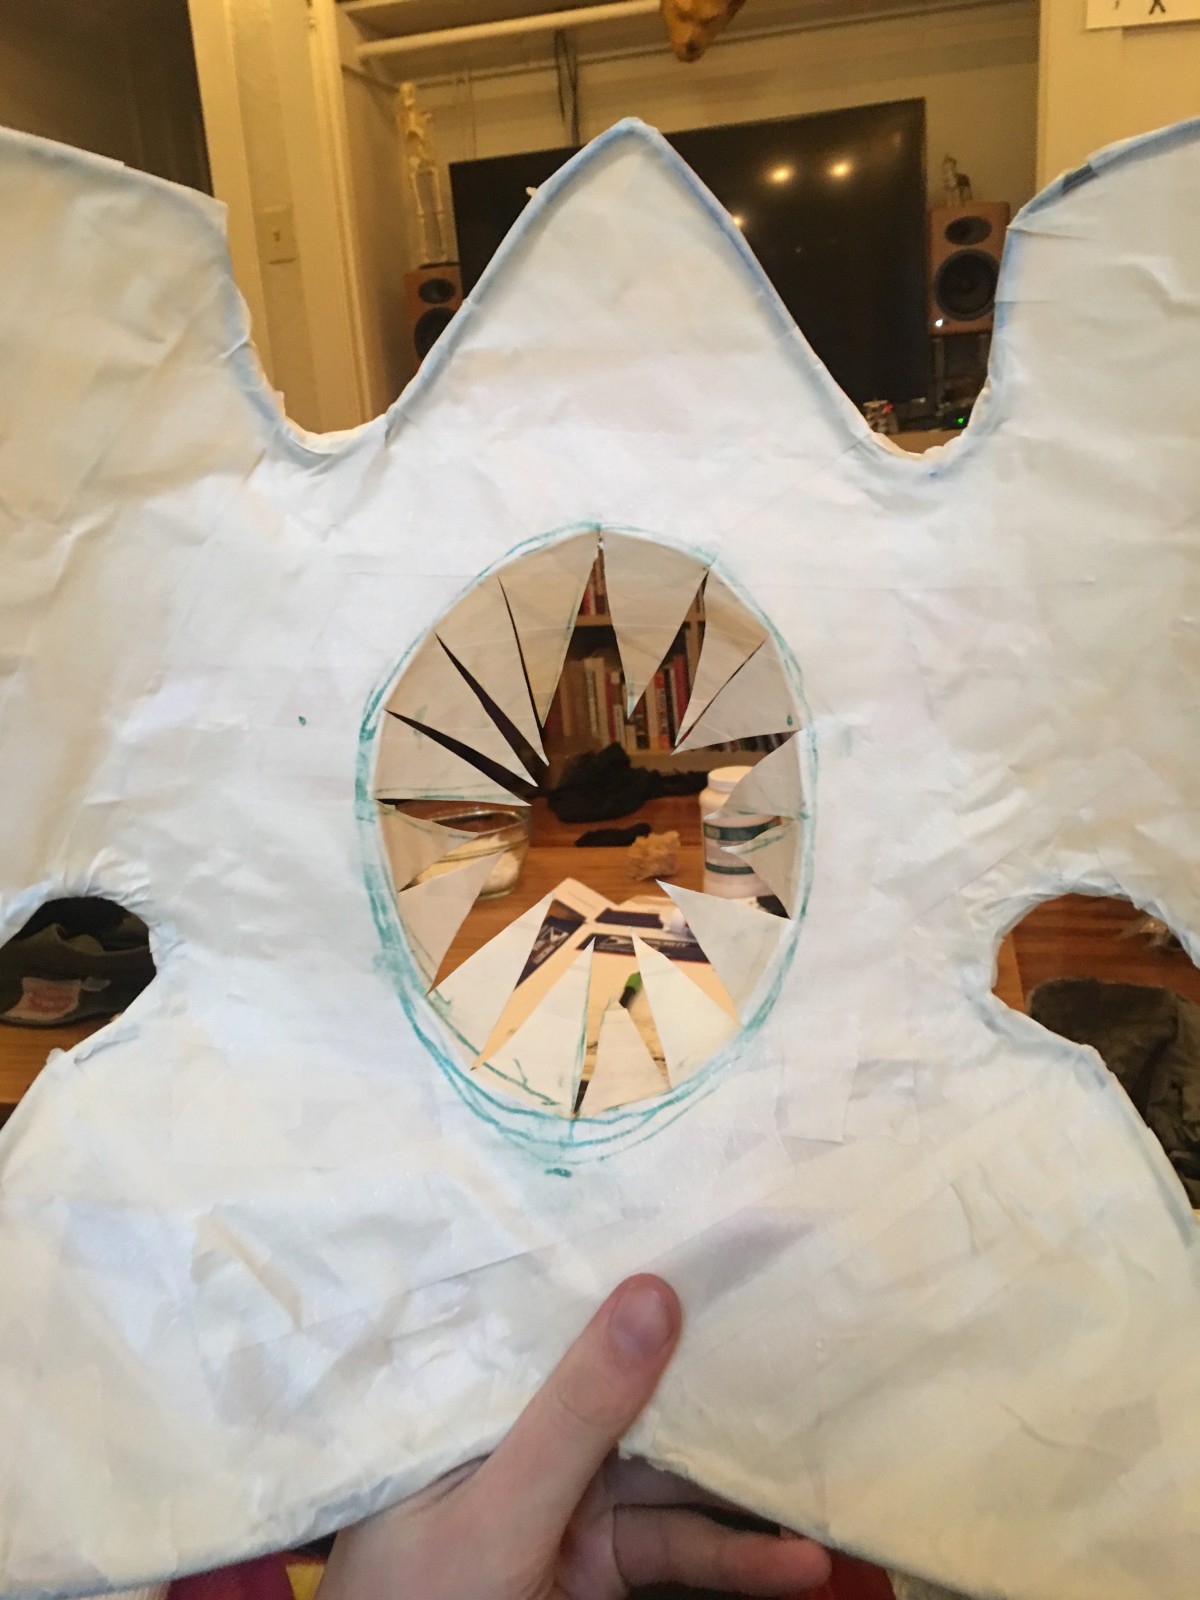
Next, I moved on to the mask. I used an exacto to cut out a face-sized hole, after measuring right around my eyebrows to just below my mouth.
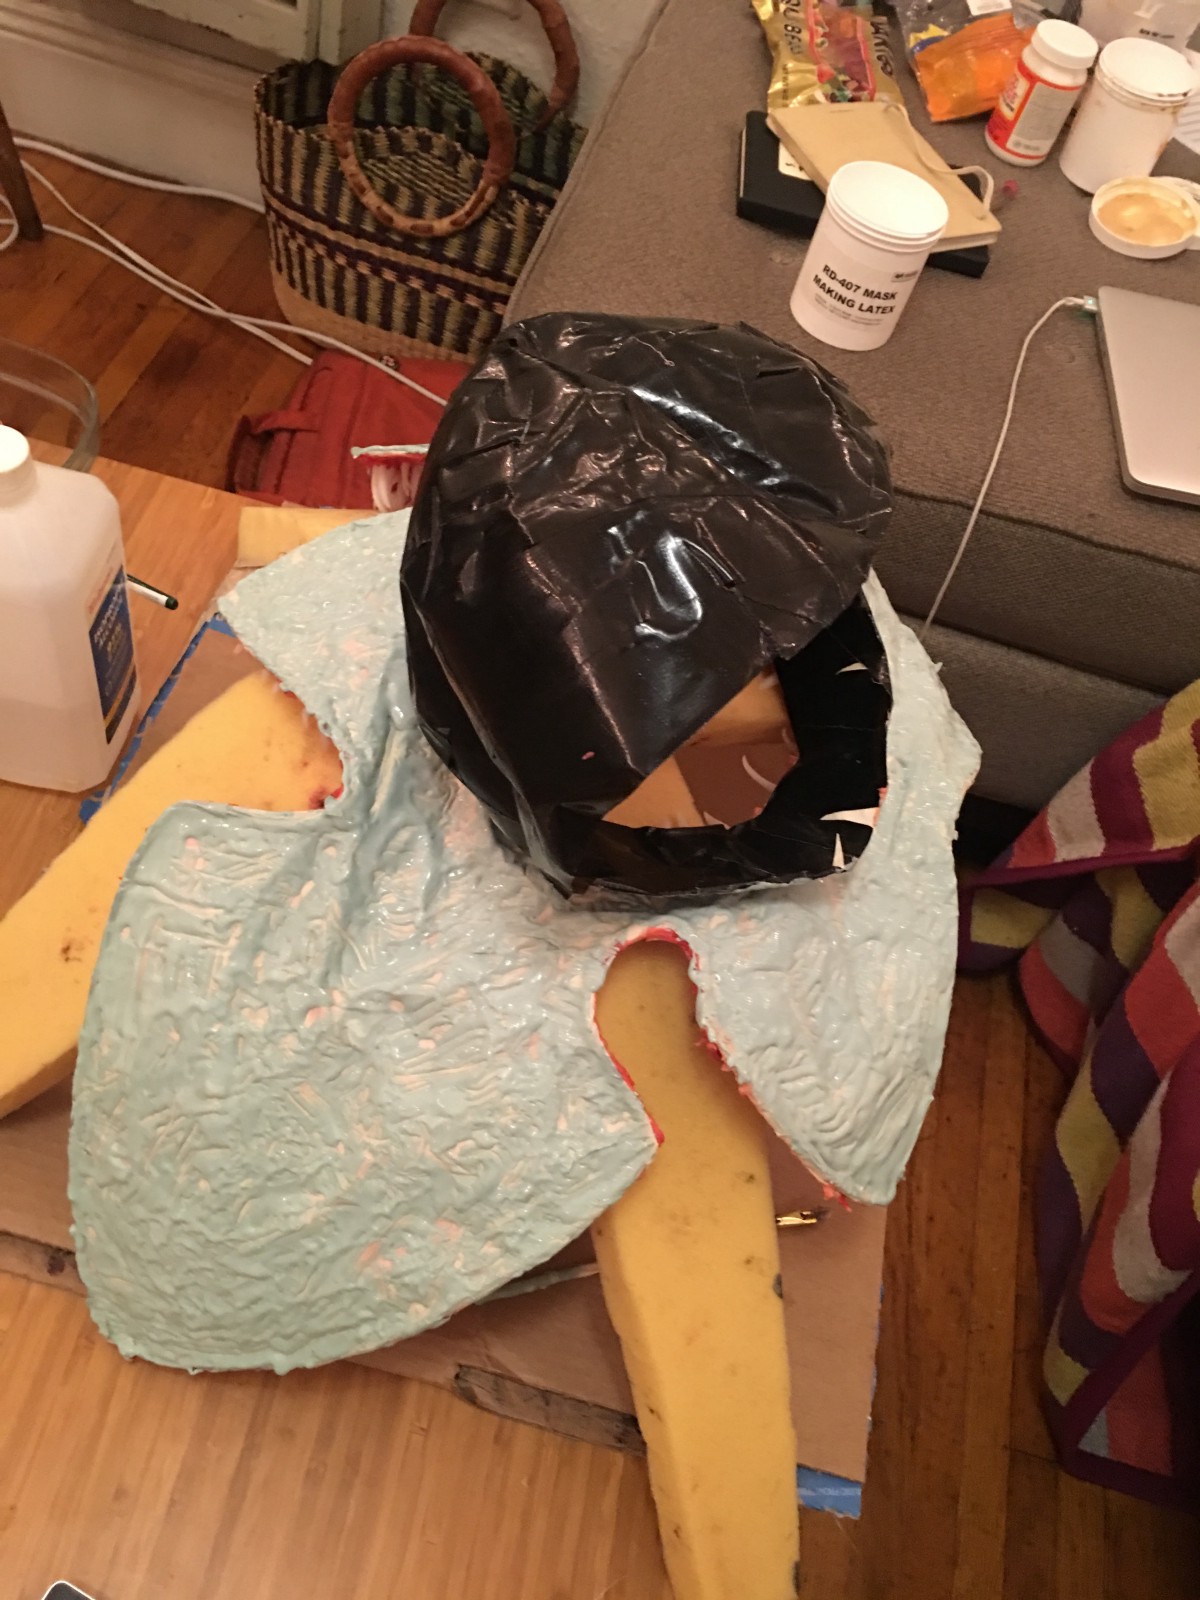
I then folded the flaps inside, and created a duct tape flared ring on the inside of the mask. I then laid tape sticky-side out around a head-sized balloon to create a helmet-like attachment to the back of the mask so I could wear it like a hat.
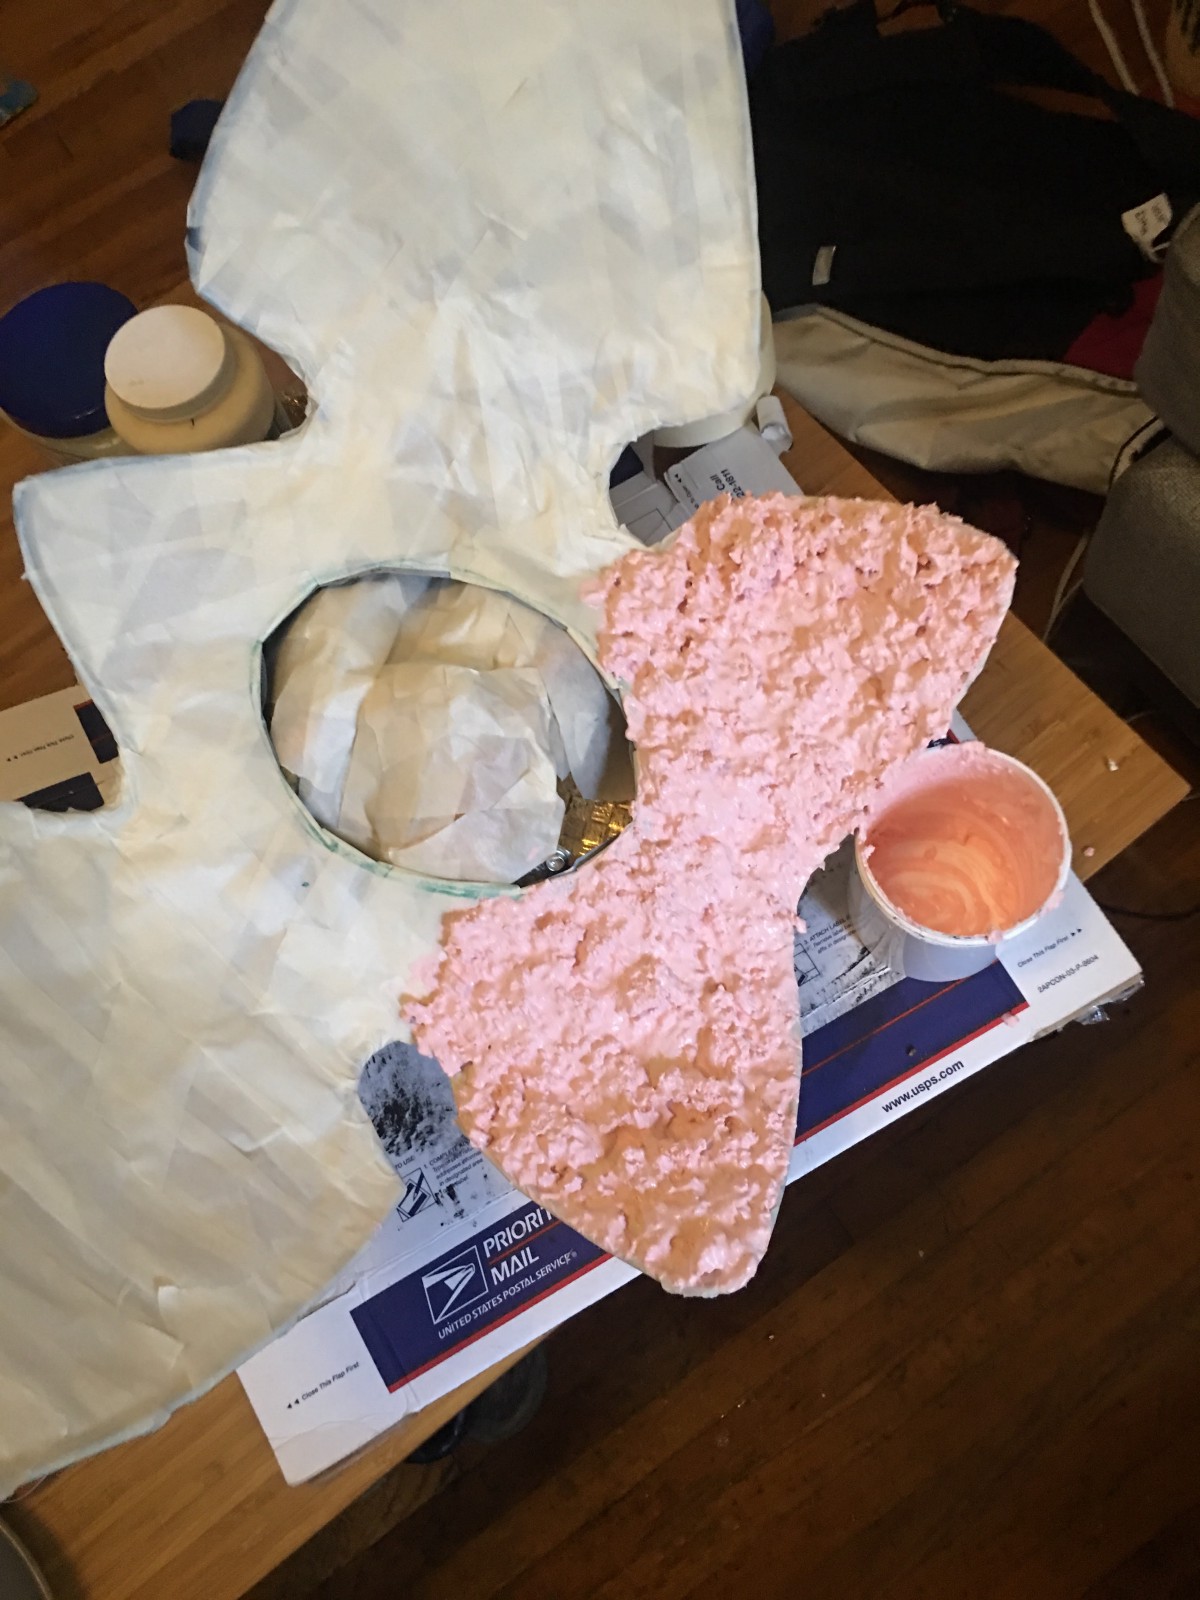
I mixed some latex with flour and food coloring, which on the first try was a cottage-cheese-like mess. The latex I used had been around since last year, so I think it was a bit thicker than I'm used to. I spread it on the mask anyway, and after waiting a few minutes for it to firm up, planted the teeth directly in the latex.
The second batch of latex was with a different, much thinner latex and flour, which I mixed to a predictably over-compensated thin paste. It ended up being a bit difficult to work with, and the teeth had a hard time getting purchase on the thin coat of latex.
Lesson: it's worth it to focus on pancake-batter consistency before pouring that shit on the mask.
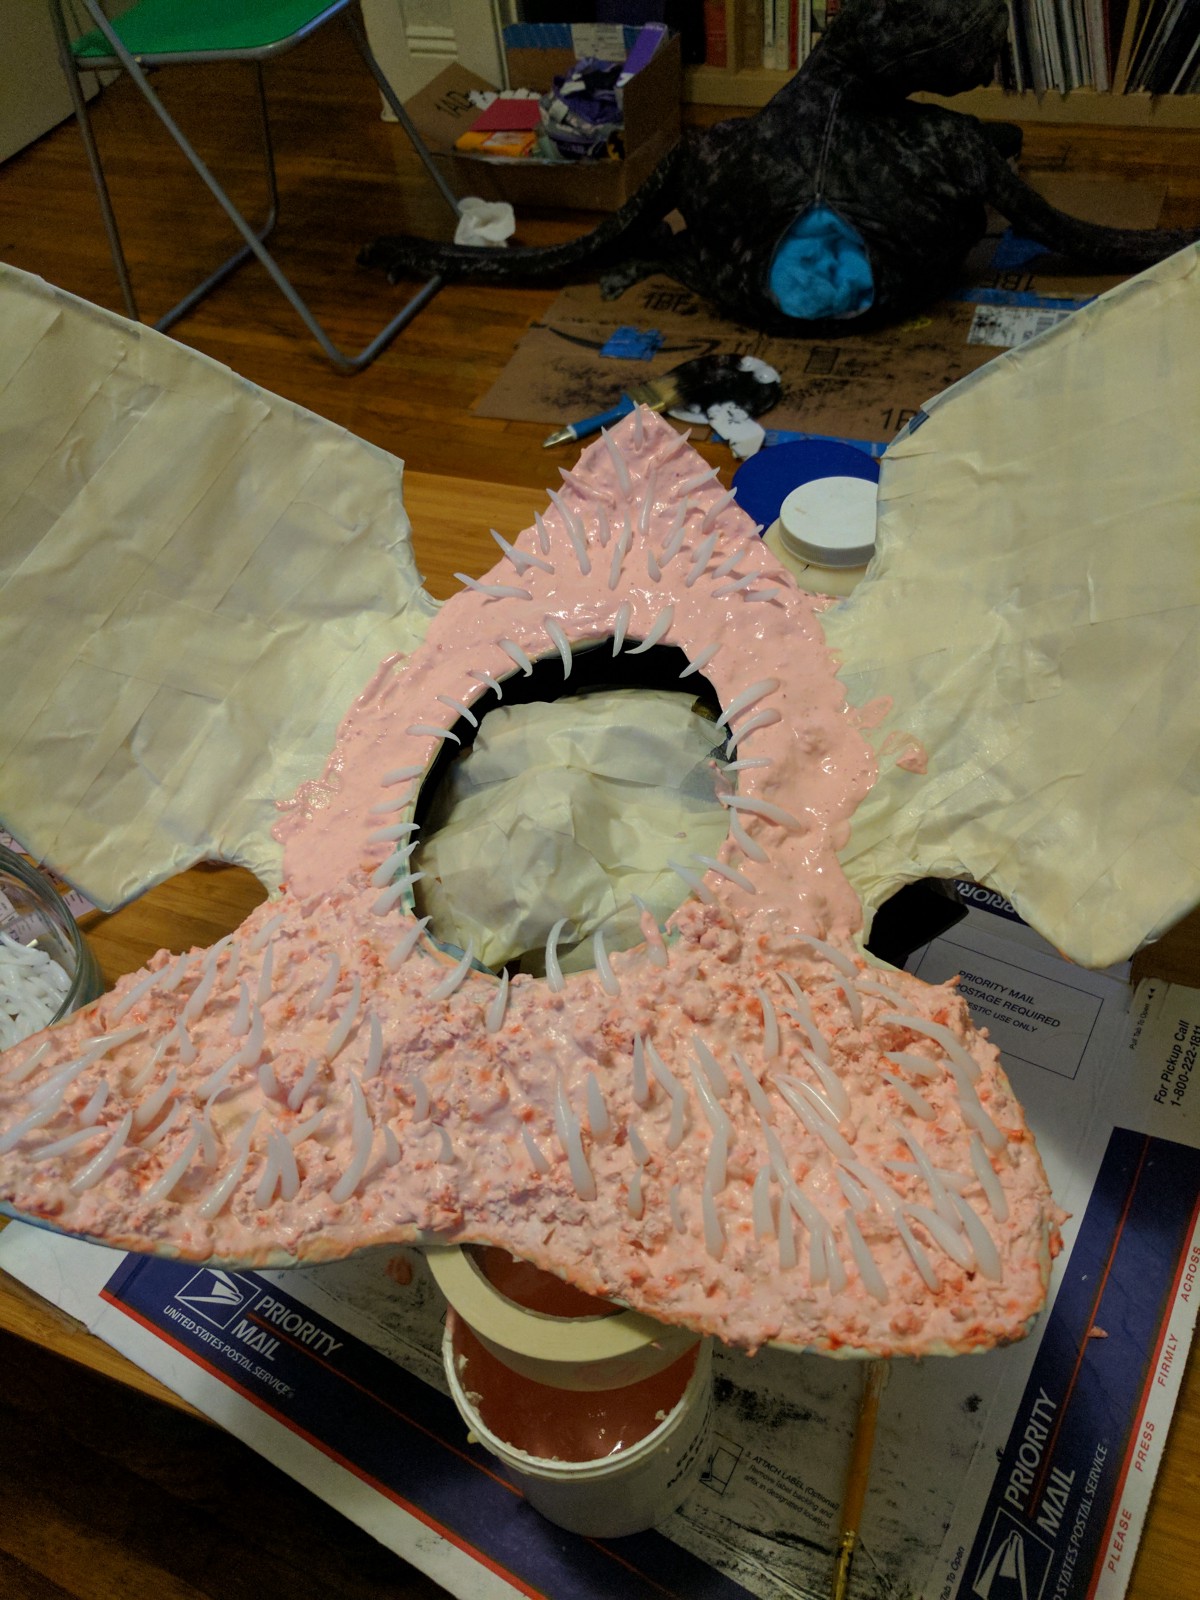
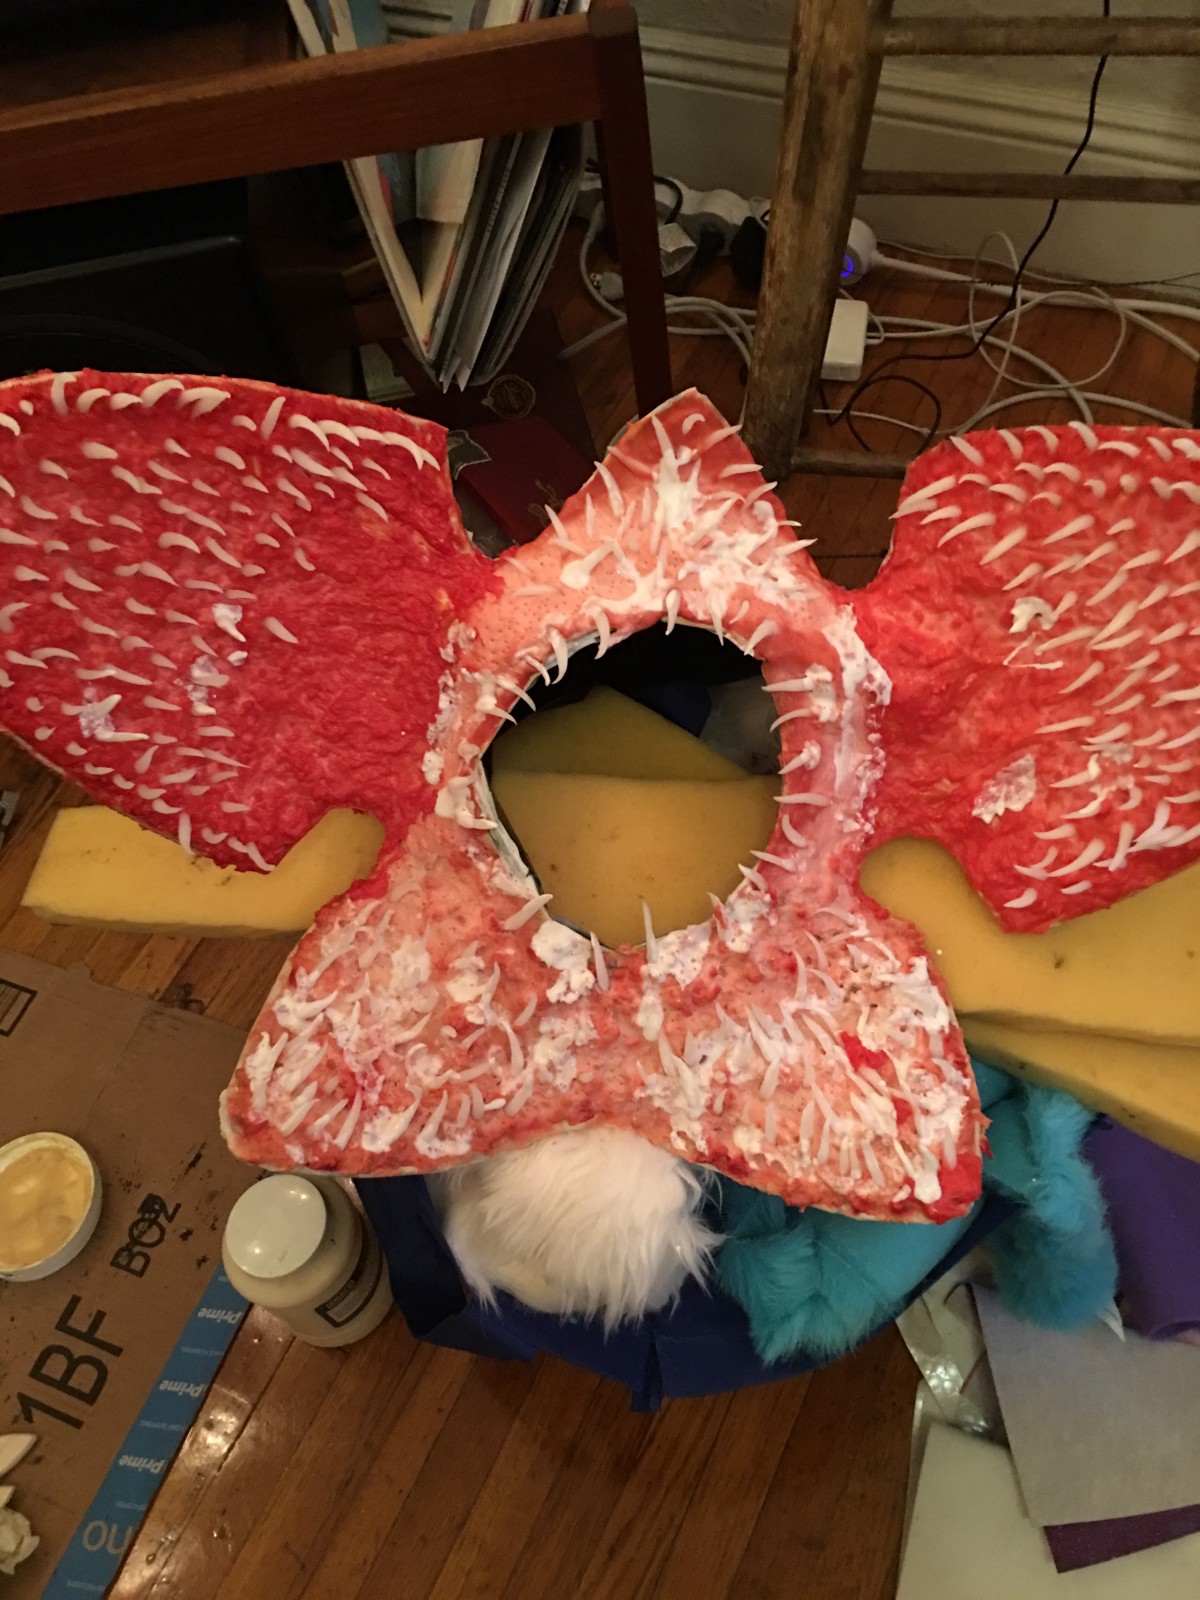
I intentionally saved the big "wings" for last, as I figured I'd get better with practice, and I wanted the wings to be really solid. I finally nailed the latex consistency and got some really nice, scary looking teeth on both sides:
A lot of guides that I've read seem to be convinced that latex dries a lot faster than it does. All said and done, each piece with more than ~1/4" or so of latex took a minimum of 48 hours, and up to 4 days to dry completely, so plan accordingly or go with thinner layers (and expect to have to reinforce the teeth…)
I then set up a cast for the inner face part by using an old face cast that I made years ago, (originally used in a Dr. Doom costume, hence the silver + rivets) which I re-use pretty much every year for anything that needs to form to my face decently.
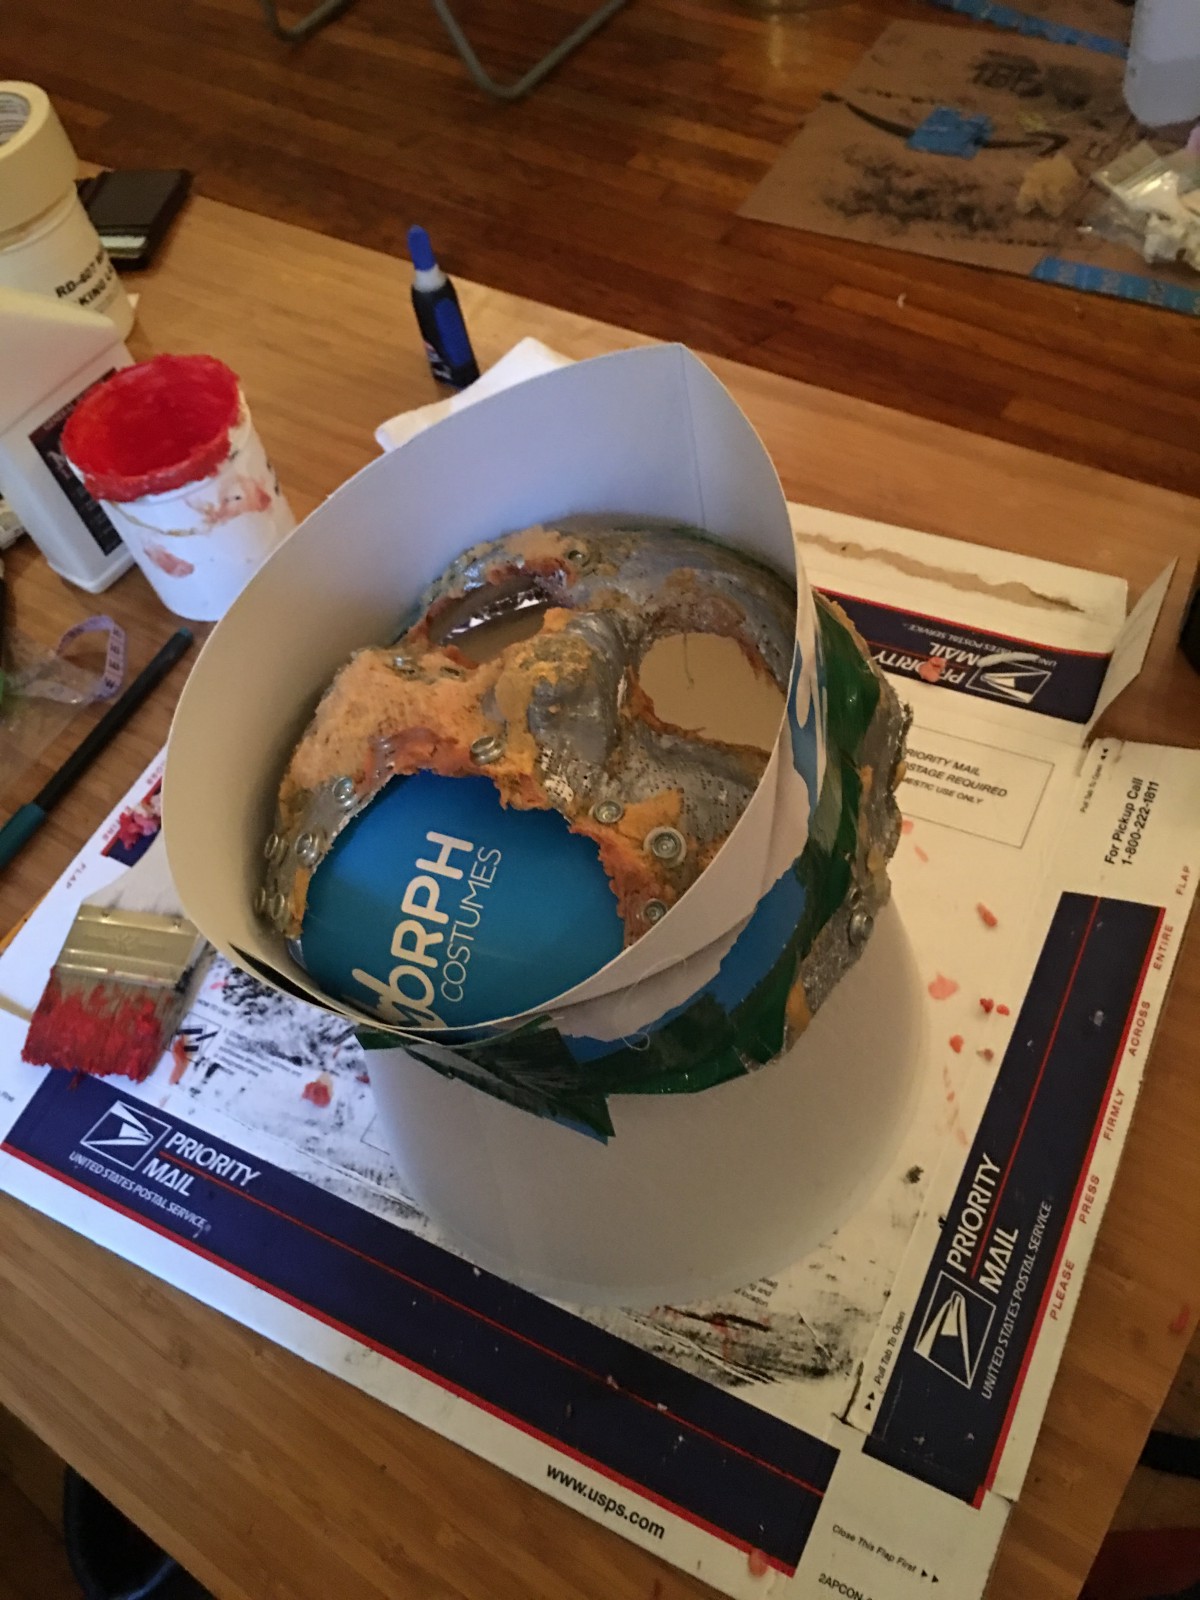
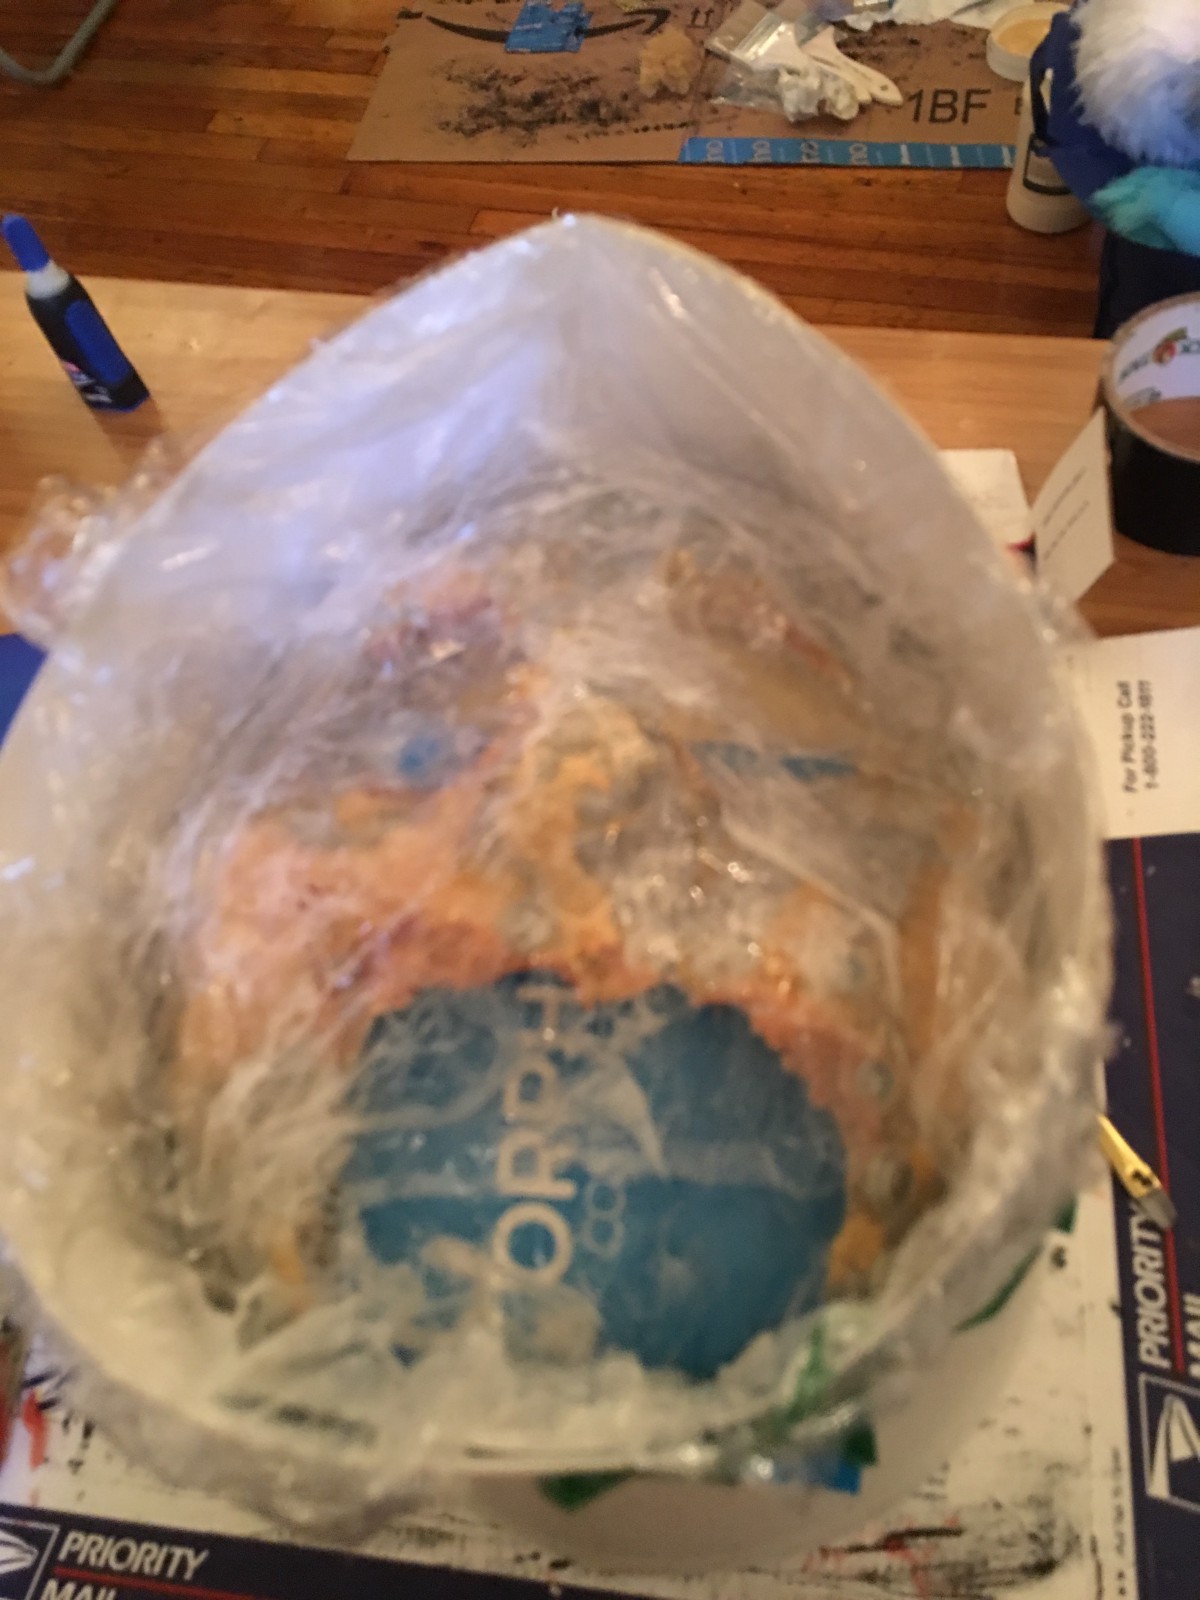
I generally just used a lot of tape and cardboard to make a decent little bowl, then lined it in saran wrap, and covered the whole mess with a bunch of vaseline so I could pull the saran wrap off when finished.
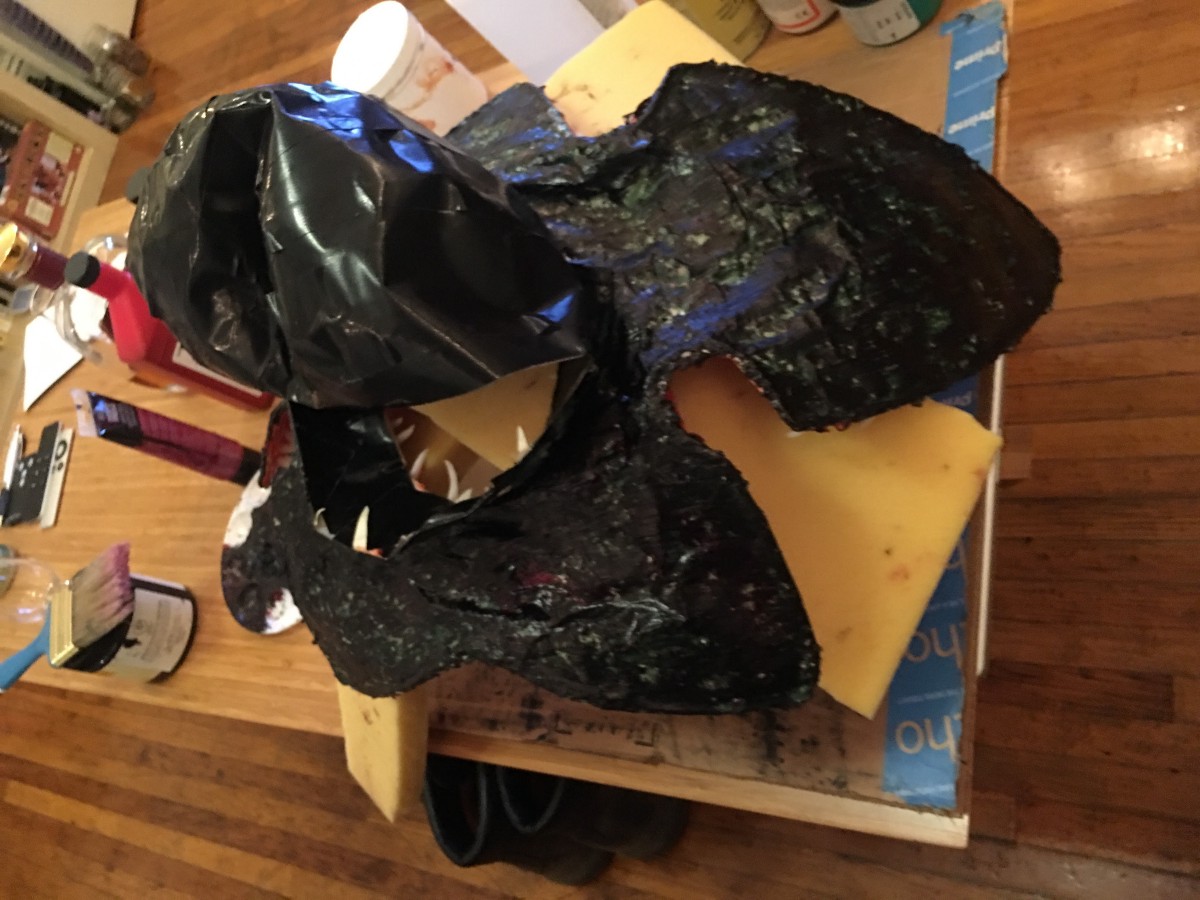
I then made up another batch of latex, but added both red and black for a darker color.
I smashed it in there, leaving some rough eye and mouth areas, added some teeth for good measure, and let it dry, which took a solid 48 hours at least.
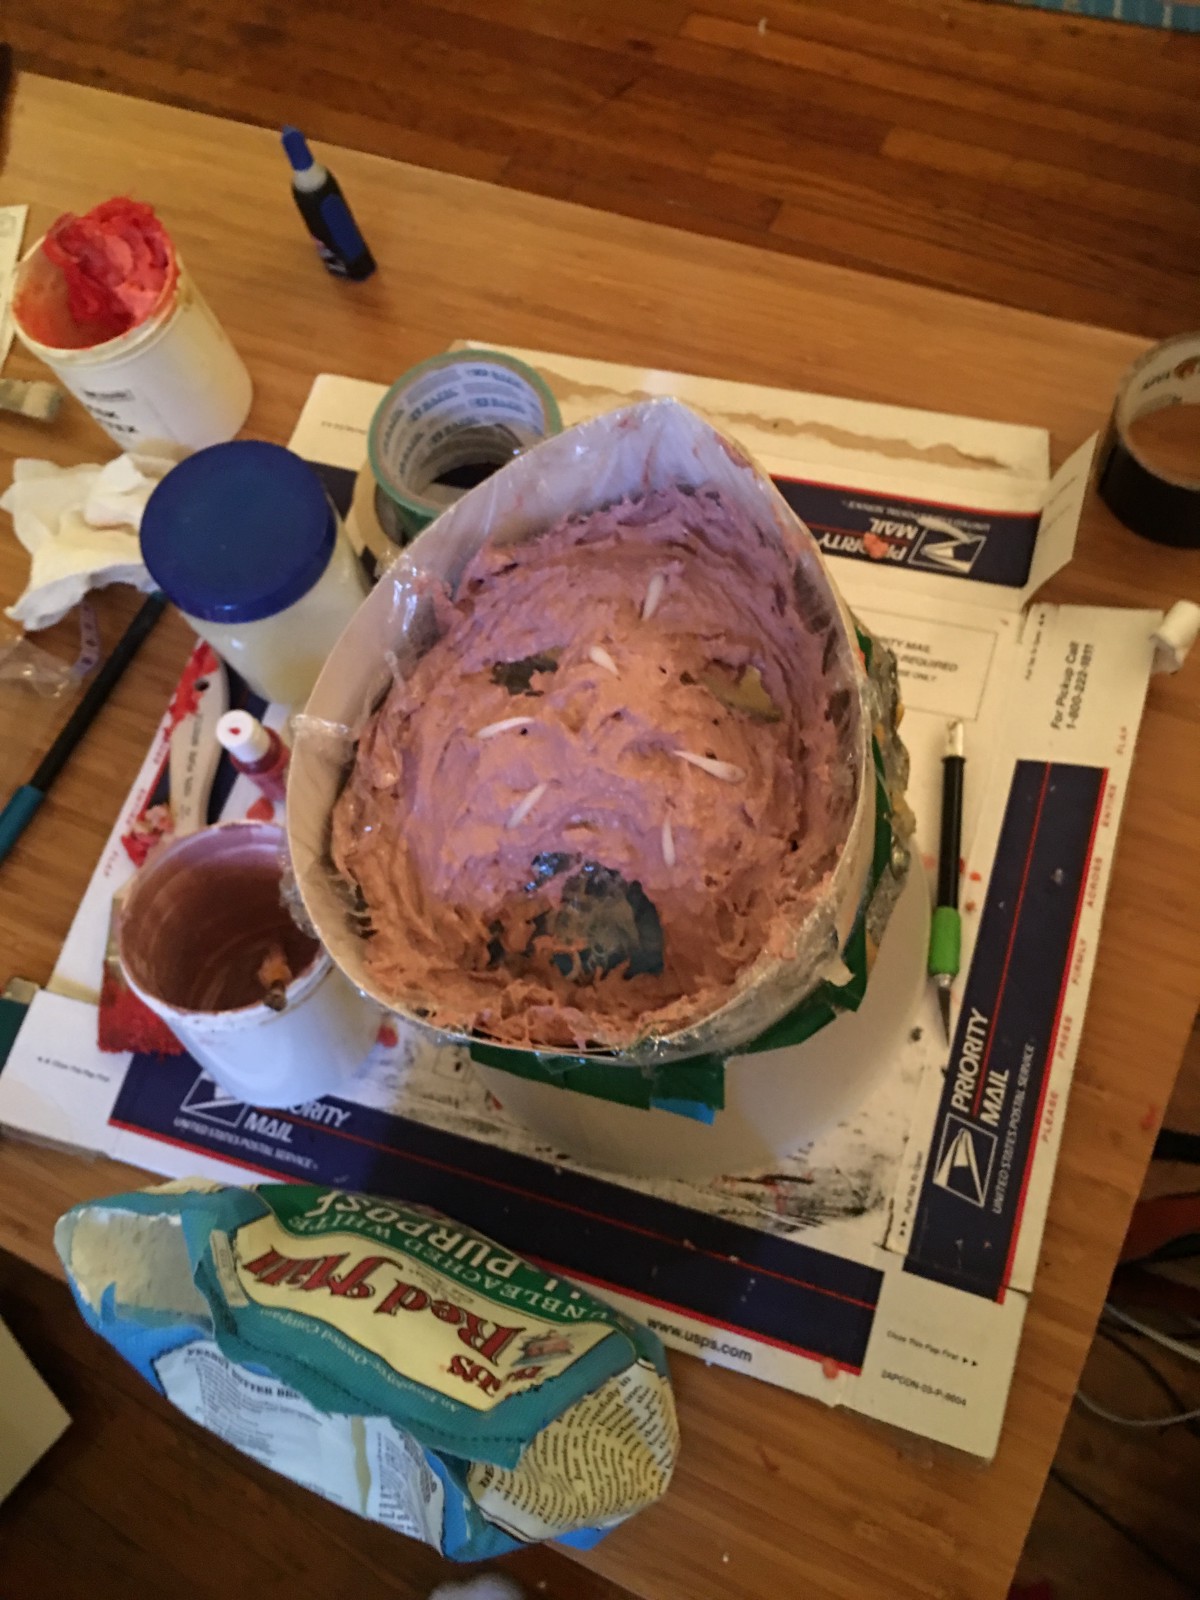
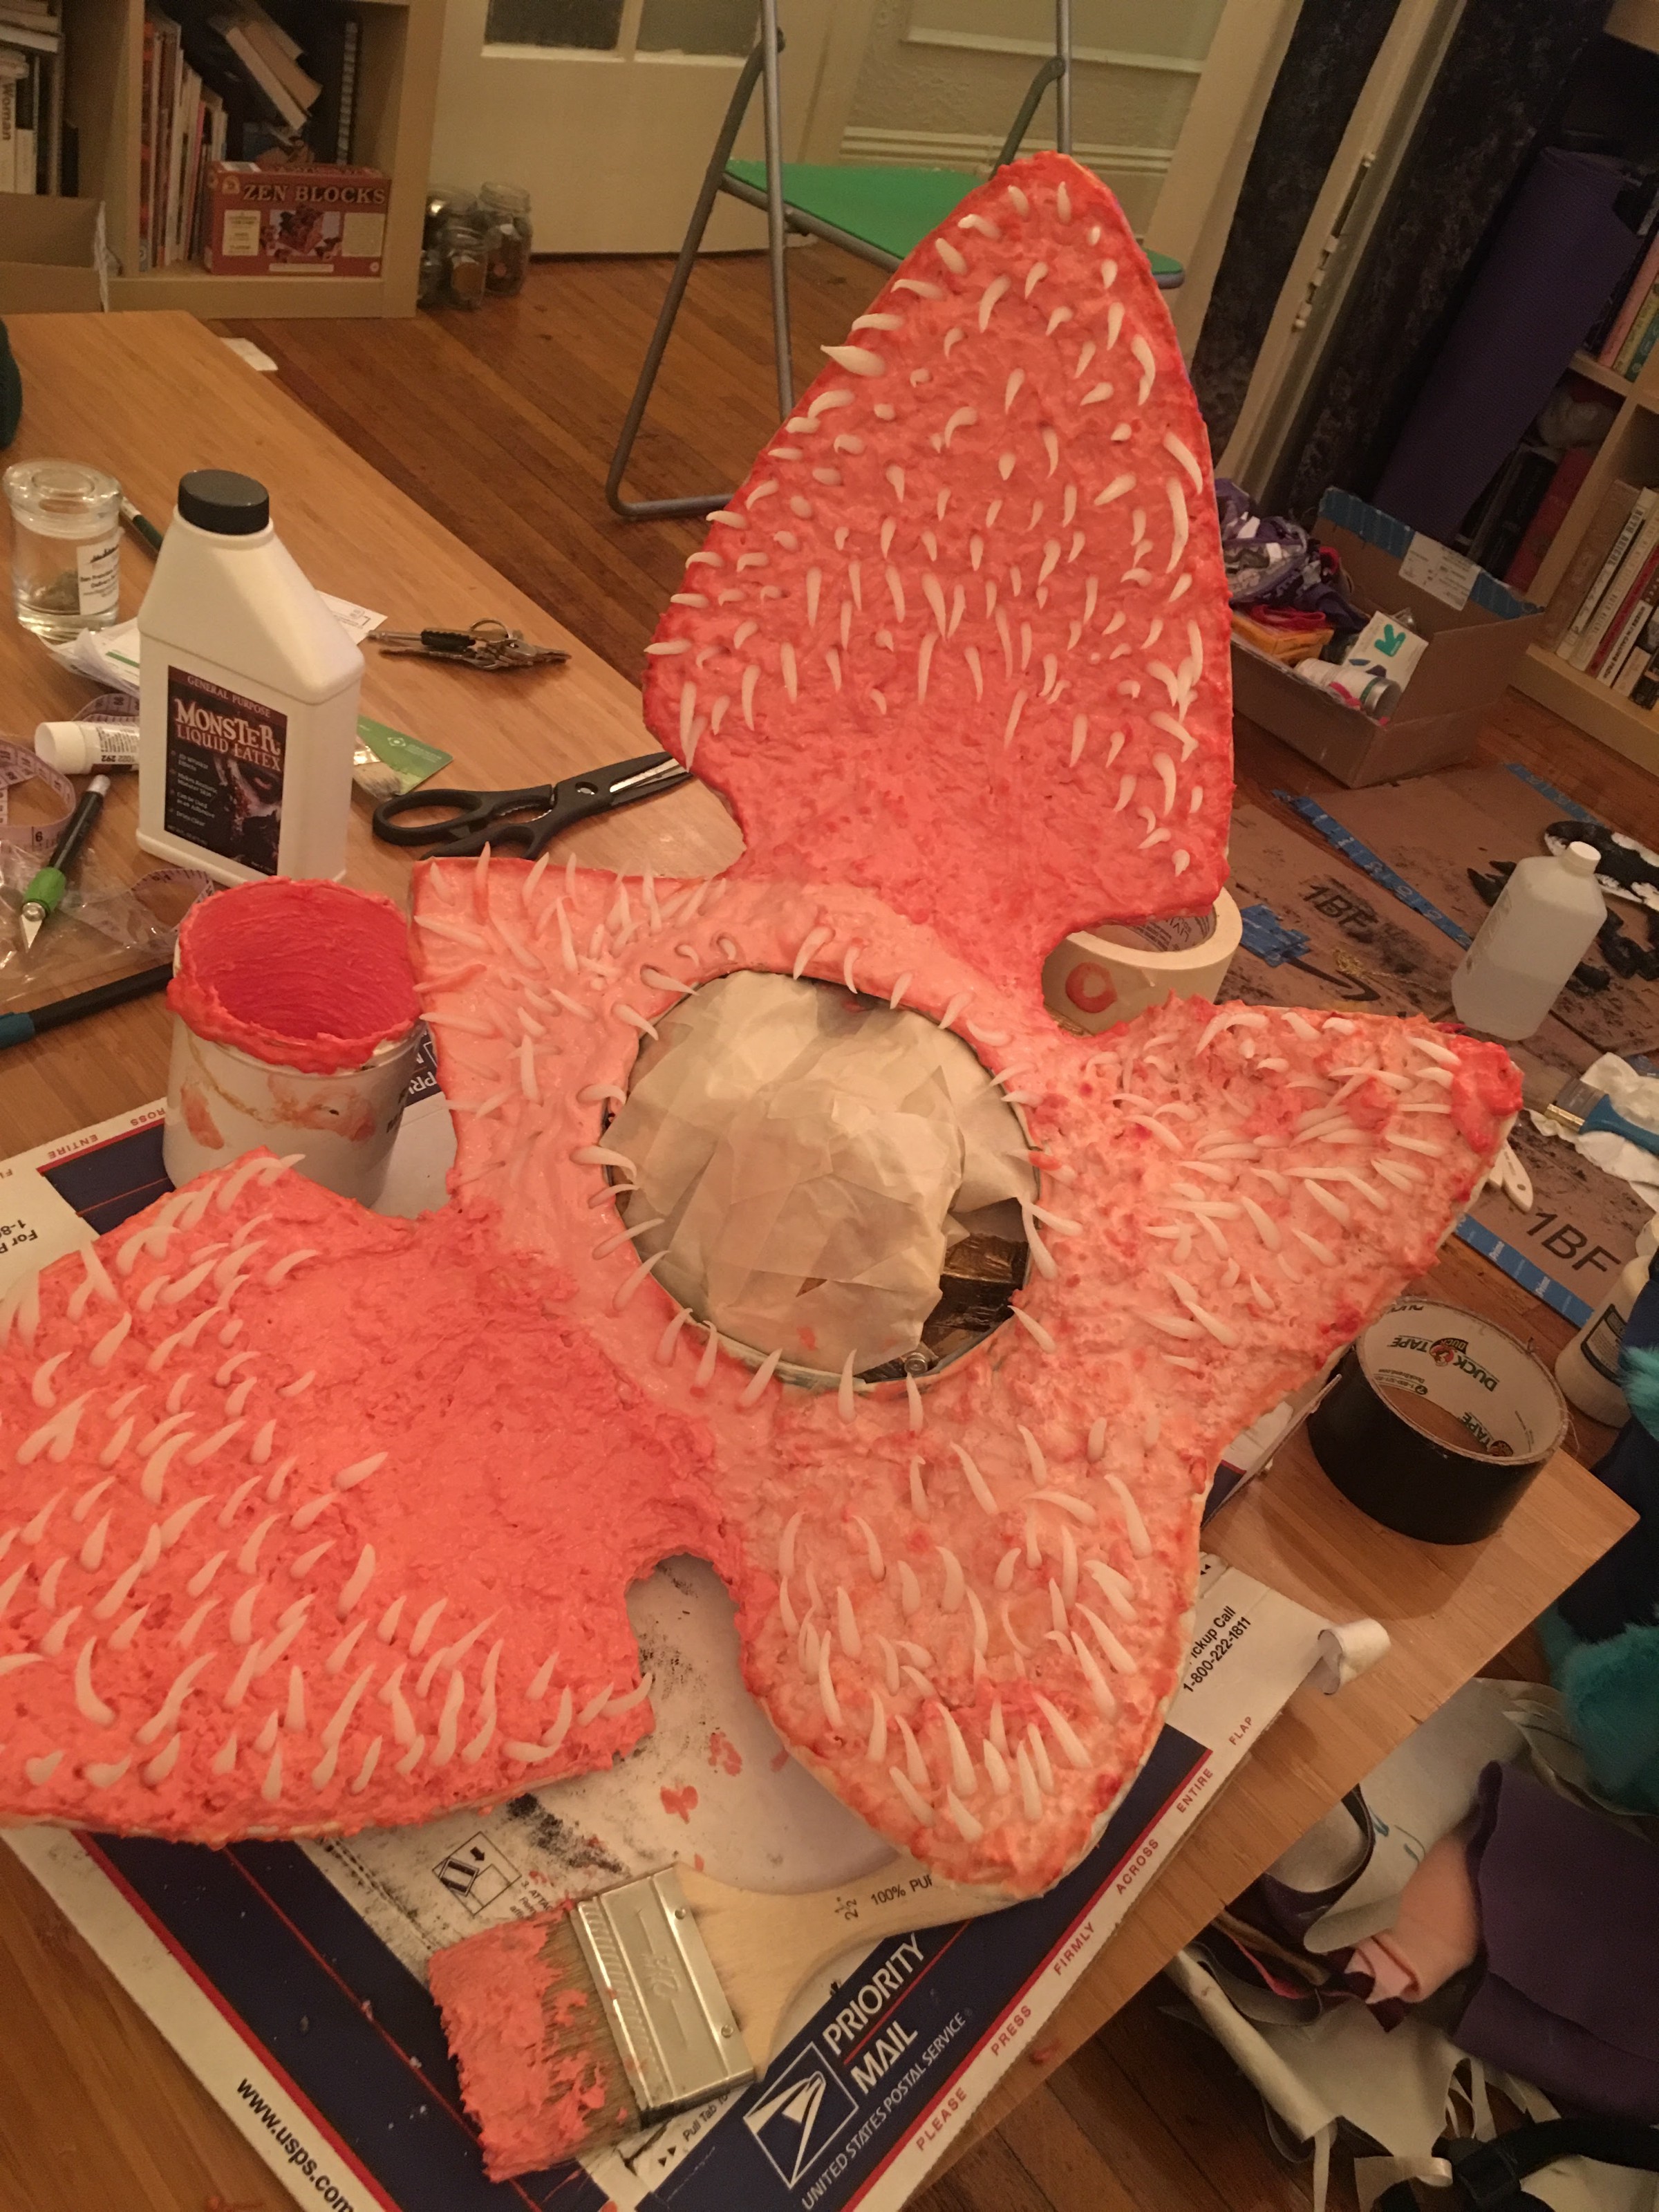
Your mileage may vary, but ultimately I think I prefer using acrylic to color the latex rather than food coloring, which all ended up being a bit brighter and more pink than red and more blue than black. I ended up having to touch up the mask quite a lot with acrylic when finished cause the colors kind of sucked.
By this time the front of the mask had dried, so I did some touch ups. Some of the teeth weren't staying in great on the too thin or thick areas, so I super glued some of them, and painted on a bunch of mod podge, which had the added benefit of giving the mask some wet-like shininess.
I painted the back of the mask with a thin latex coat. You can see the "black" food color is a complete joke. After that was dry, I painted the back with acrylic, then glued in the center part of the mask with mod podge on both sides after a test fit to make sure I could see well.

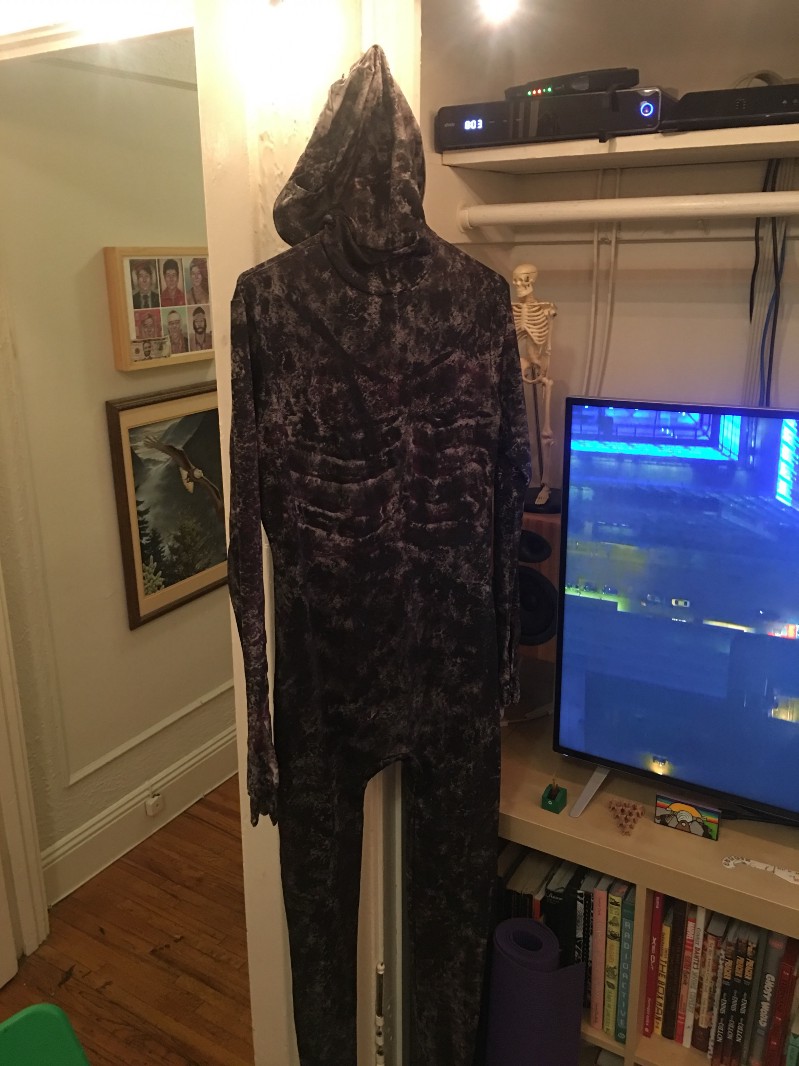
I also chopped off the ends of the fingers and made eye & mouth holes in the morphsuit so I could drink and see. I rarely am able to on halloween, so it was nice to make something that I could leave on for extended periods of time.
To get the creepy hands, I just grabbed some finger extensions and painted them black. I tried using some shitty paint on my mouth and exposed fingers, but it rubbed off pretty much immediately. I'll explore other options tonight for better hiding my mouth & fingers, but out on the dark street it was very convincing even without eyeblack.
As a final step, I bought a bunch of K-Y Jelly and fake blood as well, which I'll use to make the face a bit more drippy/gross. I'll be wearing it around SF this weekend, say hi if you see me!